
In this three part series, Conservation Assistant Caroline Hoover outlines the process of treating a photogravure by Marius de Zayas. Read Part 1 here and Part 2 here.
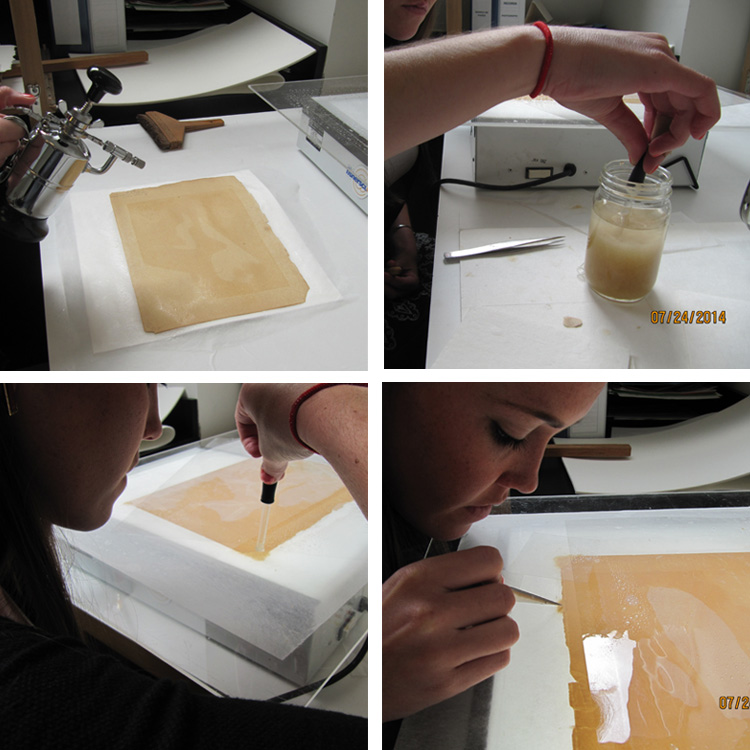
(clockwise from top left) Spraying to wet up for pulp fills; using an eye dropper to get blended color matched pulp; dropping pulp into loss areas to correct thickness and transparency on light box; adjusting pulp fills to correct thickness
Paper pulp was prepared from a high quality artist paper to fill in the losses around the edges of the brittle backing paper. The backing paper was wet up in order to attach these areas of pulp. Using an eye dropper and tweezers, the pulp was dropped into the areas of loss and built up to the same thickness of the original paper. Excess water was removed and the fills were then coated with a sizing agent to ensure attachment. The paper, with its new fills, was dried between felts. Afterwards, the pulp fills were trimmed to the edge of the original paper.
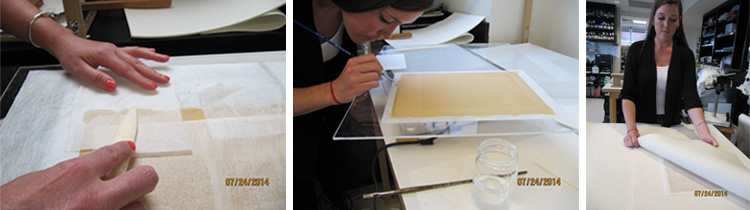
(left) Using a bone folder to get rid of excess water and flatten fills (center) coating fills with methyl cellulose to size (right) drying whole piece with fills
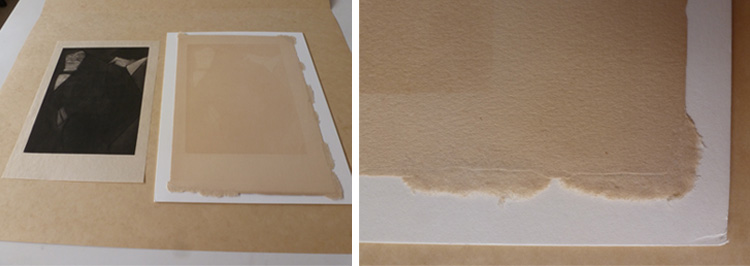
(left) photogravure next to pulp filled paper (right) detail of fills
(left) trimming excess fills (right) Alfred Stieglitz and John Marin backing page
Two tiny, thin Japanese tissue hinges were used to re-attach the photogravure to its backing paper at the top edge to secure the artwork. The picture is now ready to join its companions in a future exhibit.
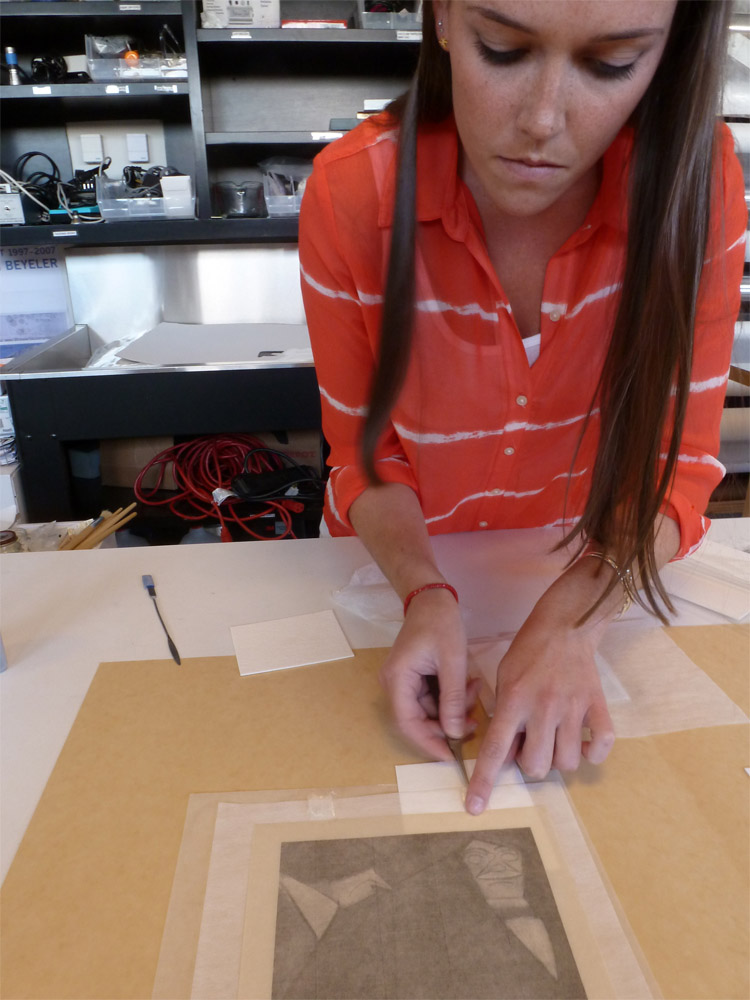
Attaching hinges
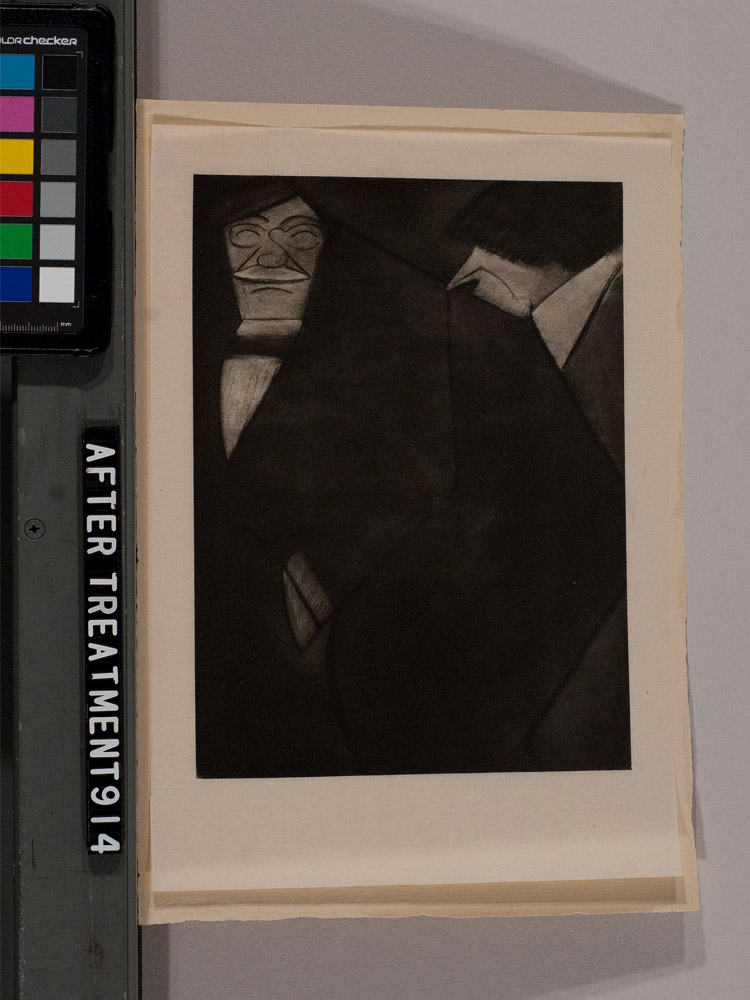
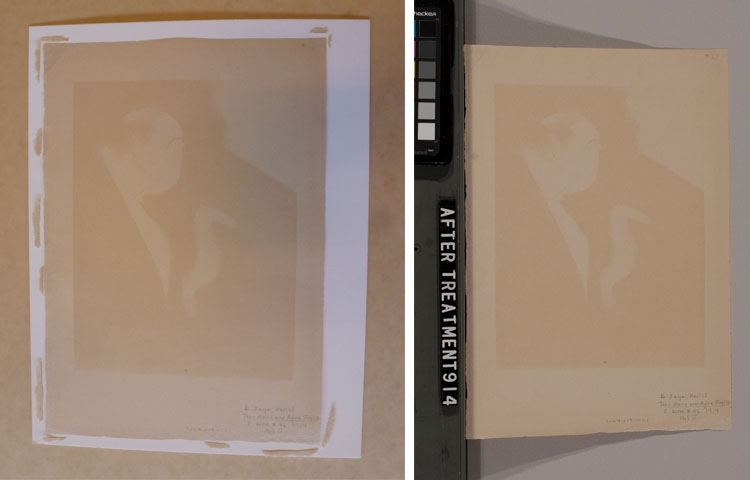
The piece after treatment