Hello from Donna Jonte, your Phillips at Home host. Thanks for spending time with me and works of art from The Phillips Collection, slowing down to look, think, wonder, and respond creatively.
Today we will explore Georgia O’Keeffe’s landscape Red Hills, Lake George. Then we will create a collage.
Materials Needed: Cardstock or cardboard for a background, scrap paper, construction paper, foil, found objects for collage, scissors, glue
Time: 30-45 minutes
Ages: 4 +
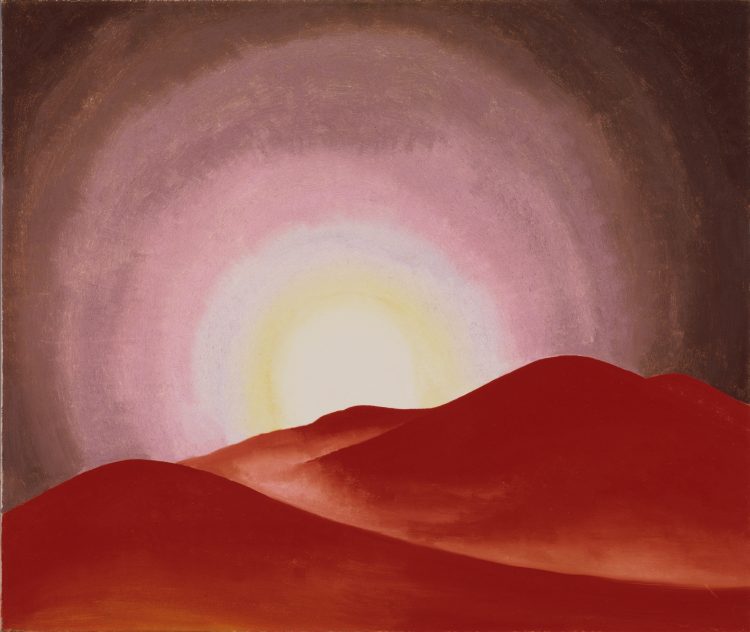
Georgia O’Keeffe, Red Hills, Lake George, 1927, Oil on canvas, 27 in x 32 in., The Phillips Collection, Acquired 1945
You can use the See-Think-Wonder routine to investigate anything and everything! First, get comfortable, taking a deep breath and exhaling slowly. We will look silently at all parts of the object for 30 seconds, then share a few observations with each other. Next, we will think about what we observed, and share these thoughts. Third, we will ask questions. What are we curious about?
Let’s begin. Don’t forget to breathe in deeply and exhale slowly before you start!
(STEP 1) Look closely at Red Hills, Lake George for 30 seconds, and then share your thoughts with your companions.
Here are some questions to consider:
• Does this landscape remind you of a special place you have visited with your family?
• What part of the landscape has O’Keeffe emphasized?
• What is happening in the sky?
• What might the weather be like?
• Why might the hills be red?
• How does this landscape make you feel? Do you want to be in this place?
• Now, let’s ask more questions. What do you wonder about this place, the artist, and her process?
(STEP 2) JUMP IN!
Are you ready to JUMP IN? Make sure your imagination is ready to go!
Take a look to see where you hope to land. On the hills? In the foreground? In the sky? Close your eyes!
1…
2…
3…
JUMP! WHOOSH! PLUNK!
• Open your eyes. What is this place like? What do you smell? Touch? Hear? See? Taste?
• Where are you? Share with your family your location and sensory discoveries.
• Are you floating in the sky on gentle, cool clouds? Swirling in the blazing rings of the setting sun?
• Are you sliding down smooth fields of red on the hidden side of the hill? What do you see on the other side of the hills?
• Where did your family members land? Did you choose different places to explore?
(STEP 3) Would you like to learn more about Georgia O’Keeffe and Red Hills, Lake George?

Alfred Stieglitz, Georgia O’Keeffe, 1918, Gelatin silver print, 4 1/2 x 3 1/2 in., Art Institute of Chicago, Alfred Stieglitz Collection
In her paintings, Georgia O’Keeffe (American, 1887-1986) seems to invite us into a place of calm, asking us to marvel at the natural world. You might have seen her very large paintings of flowers. She said, “When you take a flower in your hand and really look at it, it’s your world for the moment. I want to give that world to someone else.”
Although the colors might remind us of the New Mexico desert that O’Keeffe lived in and loved, she titled the painting Red Hills, Lake George. Lake George is in the Adirondack mountains of New York, four hours north of New York City. Georgia O’Keeffe and her husband, photographer Alfred Stieglitz, often visited Lake George, where they enjoyed the sunsets in the fall, when the mountain across the lake became a “dark, burning red.” She said: “I found I could say things with color and shapes that I couldn’t say any other way—things I had no words for.”
She described her process: “It is only by selection, by elimination, by emphasis that we get at the real meaning of things.” What do you think she meant by this? You might want to compare a photograph of Lake George to this painting. What did O’Keeffe select, eliminate, and emphasize?
(STEP 4) Let’s create a collage.
Now that your imagination is in full swing, are you ready to make a collage inspired by Red Hills, Lake George? A collage is a work of art made by sticking various materials such as photographs, pieces of paper, or fabric to a background.
You can tear or cut paper. You can use tissue paper, scrap paper, or junk mail. You could experiment with aluminum foil or fabric. What do you have in your home that might be interesting in a landscape?
If you wish, you can add a person, perhaps a self-portrait, to the collage. Where will that figure be in the composition?
Start with a background (about copy paper size, at least as big as your hand). It can be any color and should be heavy enough to hold the pieces you are about to glue on it.
Tear large shapes from paper that is a different color than the background. Arrange (you can overlap!) these shapes (they don’t have to look like mountains—they can be just shapes!) and glue them onto the background.
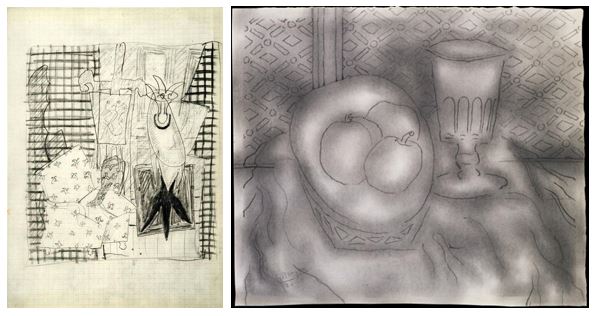
If you want to add a figure, cut or tear a simple shape that represents a person. When you are making the figure, don’t worry about details or facial features. You can eliminate details! Maybe you are flying in the sky and we can’t see your face from where we are standing across the lake. See the examples below.
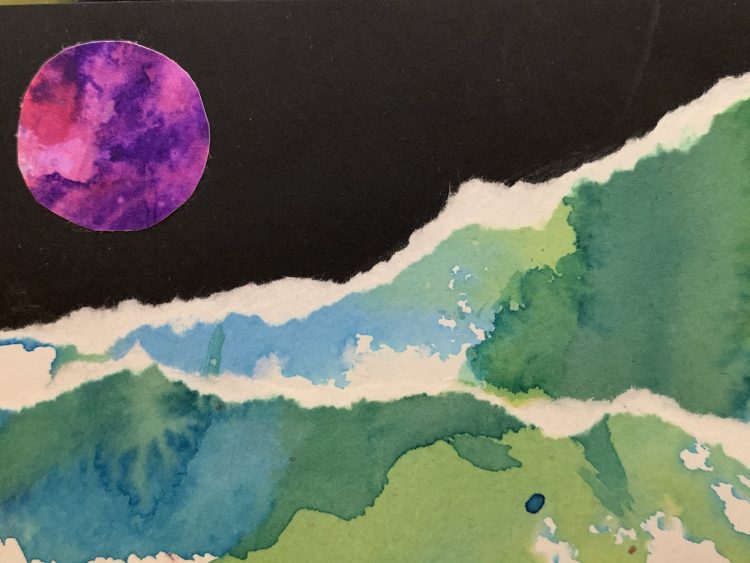
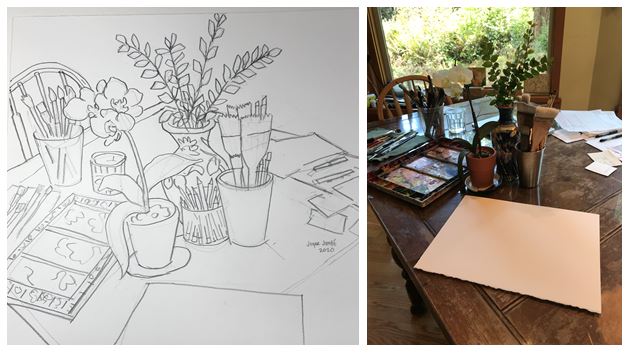
Sample collage based on Georgia O’Keeffe’s Red Hills, Lake George
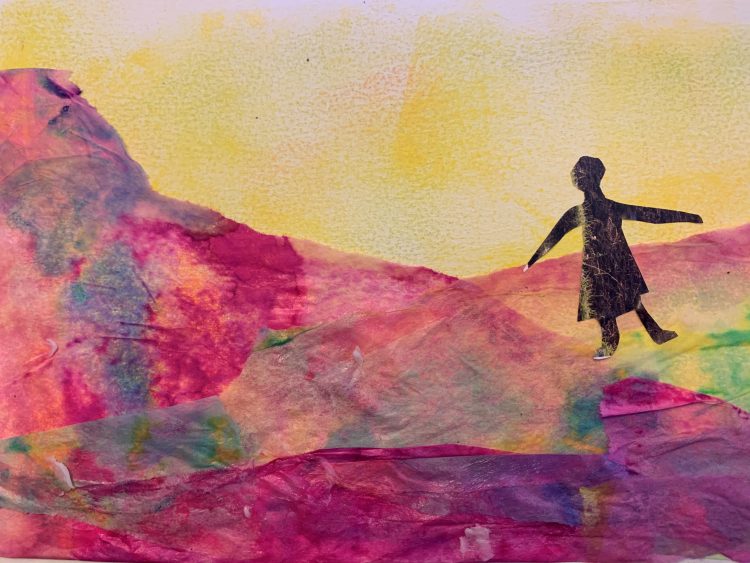
Sample collage based on Georgia O’Keeffe’s Red Hills, Lake George
Give your artwork a title. Sign and date it. Add it to your family gallery. Send us a photo of your artwork: djonte@phillipscollection.org
Visit the website of the Georgia O’Keeffe Museum in Santa Fe, New Mexico, for images of O’Keeffe’s work and information about her life. And, best of all, there are suggestions for making art!
Visit Harvard’s Project Zero Thinking Routines for more See-Think-Wonder guided instructions.