Public Programming Intern Erich Brubaker shares the genesis behind the Bonnard Salon, created in conjunction with the exhibition Bonnard’s Worlds (on view through June 2, 2024).
When you think of the word “salon,” what first comes to mind? Maybe you think of hairdressers or nail technicians; perhaps you envision an event related to artists gathering; or, maybe you imagine a luxurious room in a historic mansion. While the French origin of the word in the 1600s refers to a reception room, the word “salon” has had very specific meanings in different places and contexts over the past few hundred years. Today, it conjures an image of intimacy and togetherness, a theme The Phillips Collection is excited to explore through the Bonnard Salon.
In Pierre Bonnard’s world—France at the fin de siècle and into the early 20th century—a “salon” was an organized showcase of artworks, run by established art institutions and promoting traditional, classical art. As art exhibitions shifted from the exclusive, official salons of the 1700s to more informal showcases with more expressive avant-garde art, Bonnard participated in and created posters for salons, including the second inaugural Salon des Cent in 1896, a public exhibition in Paris where artists sold posters, prints, and reproductions.
This exhibition coincided with the rise of accessible and informal gatherings of artists and collectors. These gatherings for people to talk about the art, music, and literature of the time came to be called salons. They met in intimate spaces around Paris to exchange information and spark inspiration. It is in these settings where Bonnard and his fellow Nabis artists discussed Symbolism, mysticism, modern art, and design.
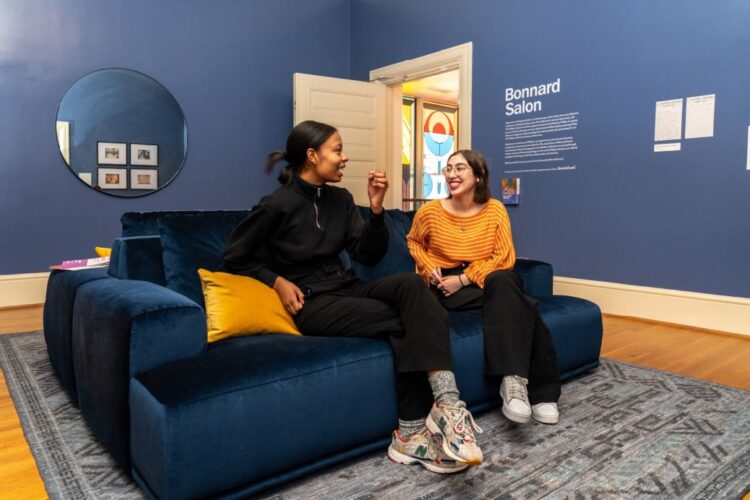
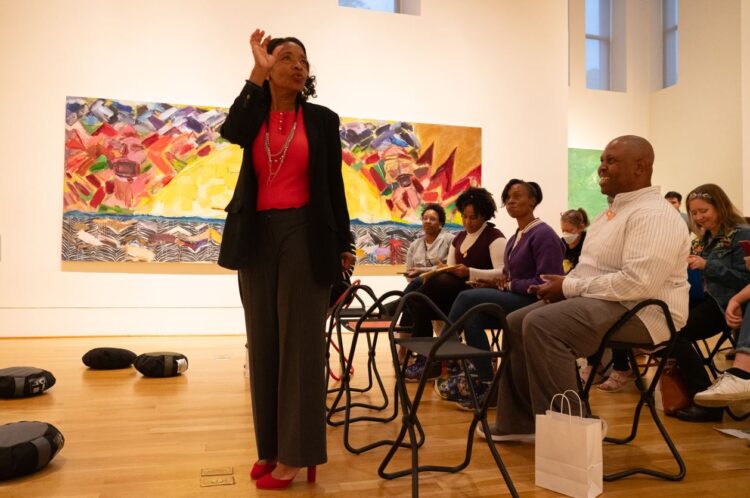
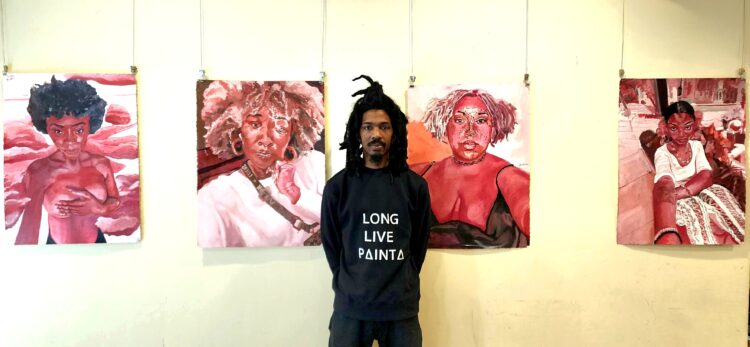
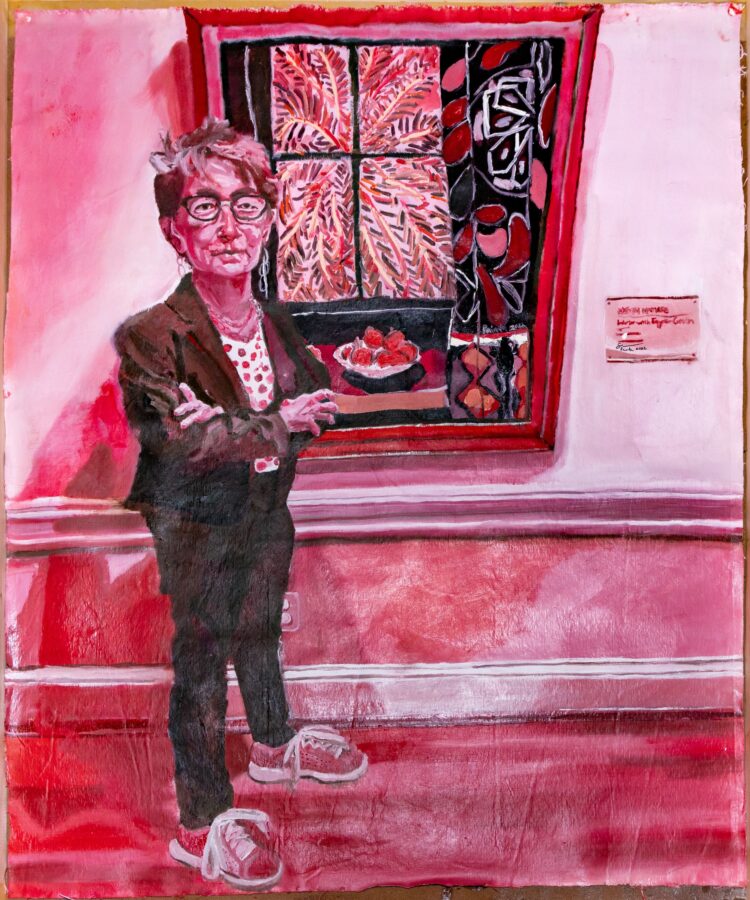
Guests in the Bonnard Salon
To accompany the exhibition Bonnard’s Worlds, The Phillips Collection presents the Bonnard Salon, an intimate space where guests can more deeply engage with artist Pierre Bonnard and his relationship with The Phillips Collection. The Salon (located in House Floor 2U, adjacent to the Bonnard’s Worlds galleries) is open during regular museum hours for browsing materials from the Phillips Archives. The Salon will also host weekly opportunities to engage, including intimate presentations hosted by Phillips educators, conservators, and archivists, as well as workshops inspired by the artist. Programs in the Bonnard Salon take place Fridays, March 8 through May 31, from 12–1 pm; reservations are required and space is limited, included with cost of admission.
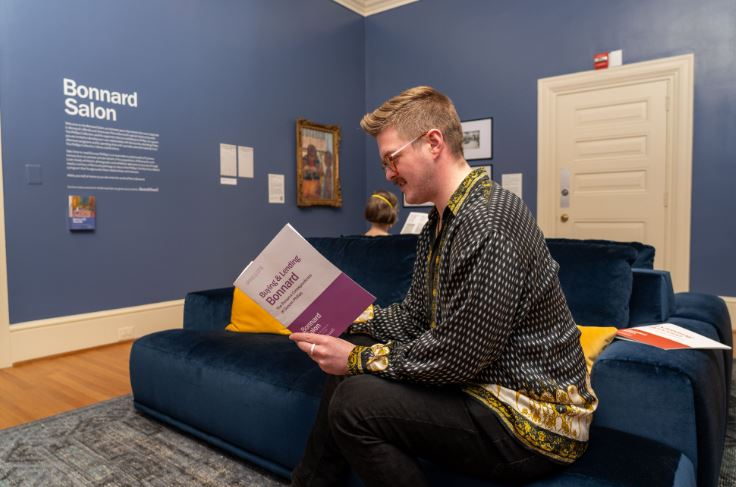
Guest in the Bonnard Salon
We look forward to welcoming you into our home to engage and learn! Visit https://www.phillipscollection.org/bonnard-salon to learn more and register.
Furniture and accessories in the Bonnard Salon generously provided by Room&Board.