Today’s activity looks at Alfonso Ossorio’s Five Brothers as we dive into the curious world of science using the scientific method. The scientific method is a process of six steps scientists use to help them gain knowledge, solve problems, and understand why things work the way they do. We’ll use it to conduct experiments exploring the various reactions materials such as wax, salt, and glue have with watercolors. After conducting our experiments we will use our findings to create our own Ossorio-inspired masterpiece. Let’s get started!
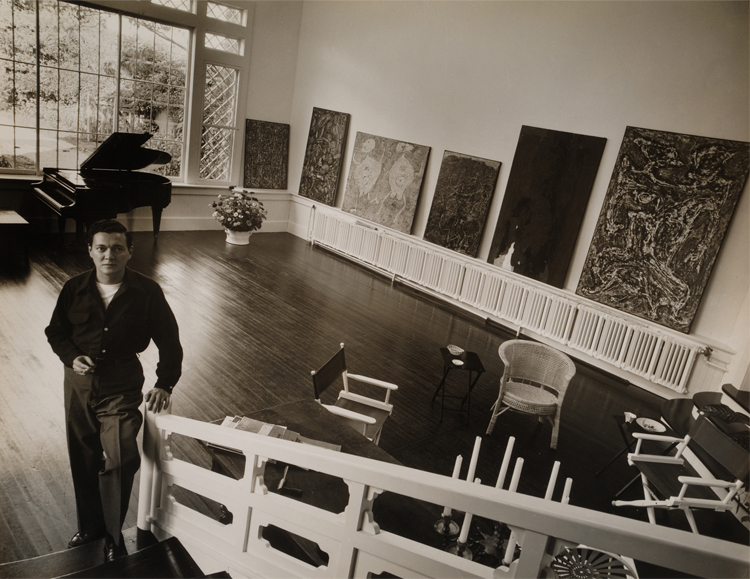
Hans Namuth, Alfonso Ossorio at the Creeks, 1952. Center for Creative Photography, University of Arizona. 1991 Hans Namuth Estate
About the Artist: Alfonso Ossorio was one of the first members of the Abstract Expressionist movement, which rejected naturalistic images and stressed spontaneous expression. An artist, collector, and patron of both American and European artists, he is one of the most colorful figures of postwar America. Ossorio was born in the Philippines in 1916, and spent the majority of his childhood attending Catholic Preparatory School in England. Ossorio moved to the US to attend boarding school, and became a citizen in 1933. He attended Harvard where, against his father’s wishes, he majored in Fine Art.
In 1940, Ossorio was offered his first solo exhibition when Betty Parsons, a prominent New York art dealer, discovered his work. Through his connection with Parsons, Ossorio was introduced to Jackson Pollock and Jean Dubuffet. Throughout his career, Ossorio experimented with different mediums, both conventional and unconventional. This enabled him to create a style that was informed by the works of Pollock and Dubuffet, yet remained fiercely independent due to his interest in surrealism and belief in free and spontaneous gestures.
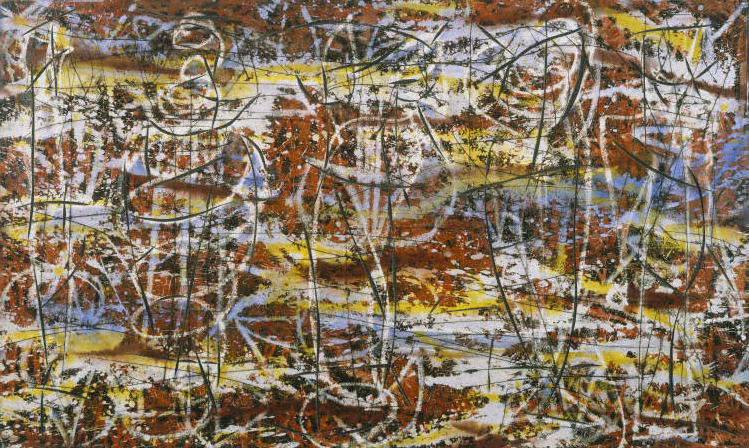
Alfonso Ossorio, Five Brothers, 1950. Watercolor, ink, and wax on illustration board, 18 3/8 x 30 1/4 in. The Phillips Collection, Washington, DC. Acquired 1951
Look Closely: Five Brothers was painted in 1950. Ossorio’s return to the Philippines in the 1950s, at the age of 34, was the first time he had returned in 26 years. The works he created during this time are thought to be some of his most personal images. Though the title of this work recalls a specific image, Ossorio replaces any representational forms with complete abstraction. He focuses on the complexity of the surface and interactions between materials as he layers ink on top of dense layers of wax and watercolor using a wax-resistant technique.
Thinking Moment: When you look at this painting, what jumps out to you? Try to identify the different mediums you see. What are you curious about?
In this art project, we will be scientists as well as artists. Keep in mind Ossorio’s unique technique and style during our watercolor experiment. After we investigate the properties of watercolors and collect our results, we’ll use what we know to create an Ossorio-inspired work of art!
The six steps of the scientific method are: observe/ask a question, research, hypothesis, experiment,analysis, and conclusion. Click here to download a worksheet we’ve created to help you keep track of your data and results.
ART PROJECT
Age Suggestion: 5+
Time Estimate: 1-2 Hours
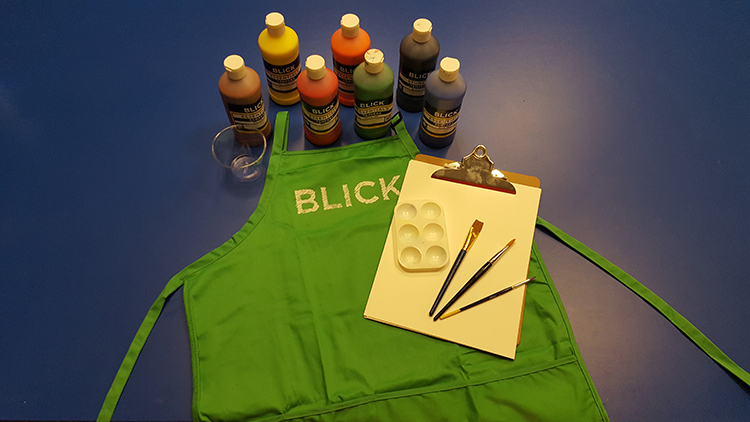
What You’ll Need:
Watercolor paint
Paint brushes
Wax crayons
Salt
Glue (liquid glue is best)
Two sheets of paper
Water cup
Scissors
Sharpie marker and/or pencil
Scientific method worksheet
Step 1: Gather your materials. Print the worksheet and have something to write with.
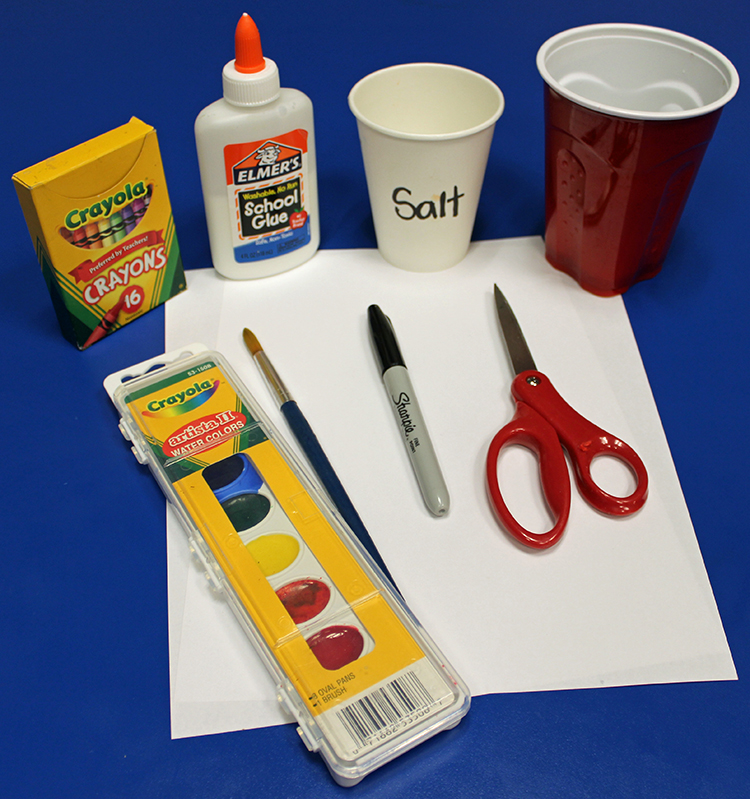
Step 1: gather your supplies
Step 2: Now we will walk through the 6 steps of the scientific method:
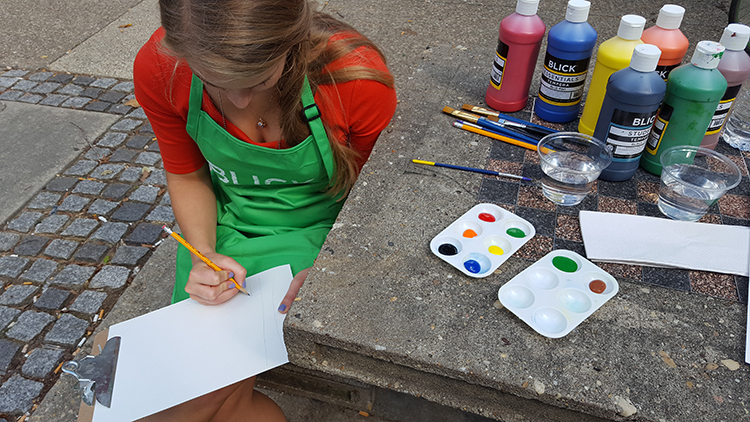
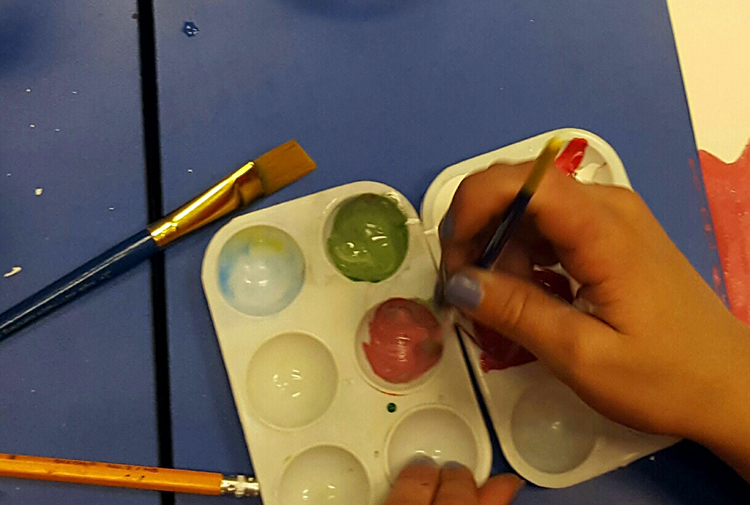
Observe/ Ask a question: The scientific method starts when you ask a question about something that you observe. Examine the watercolor paints, salt, glue, and wax crayons. For example, put a dab of glue on your fingers. Observe how it glides across your fingers. Now ask a question. Does the consistency change? What do you think the glue is made out of? Think about what questions come to mind as you examine the glue.
Research: Look for information on the internet or at the library about what it is you’re questioning and gather background information. We did this by reading the ingredients on the packaging, and looking for information about watercolors, wax, salt, and glue on the internet.
Hypothesis: Form an educated guess based on your research. This is called a hypothesis. It’s a prediction of what will happen during the experiment. A common way to form a hypothesis is by using the “If, then” format: “If I do ________ then _________ will happen.” Using what you’ve learned so far; what do you think will happen when you mix the different materials with watercolors?
Here is an example of one of ours: “If salt is sprinkled on top of watercolor paint, then the salt will absorb the water in the paints leaving a change in color pigment.”
Experiment: Organize a plan to test your hypothesis.
A) Fold and cut a sheet of paper into four smaller pieces and label them as follows: “Control”, “Glue”, “Salt”, and “Wax”. These squares will represent the four tests you’ll conduct.
You may be wondering what the paper labeled “Control” is for. When scientists conduct experiments, they have what is known as a control variable. The control variable is when the matter being tested is unchanged and constant. In our experiment the control variable is watercolor.
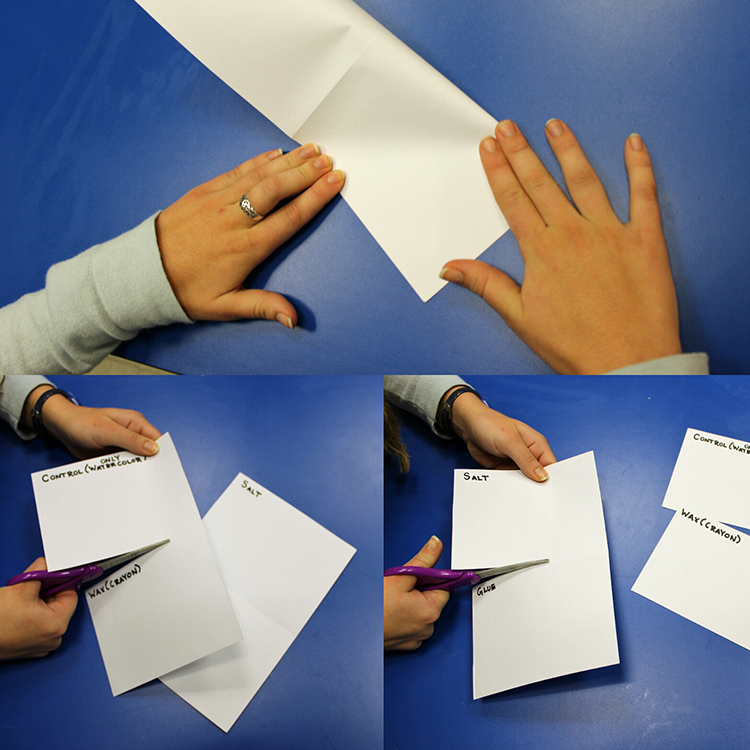
Divide your sheet of paper into four and label each square
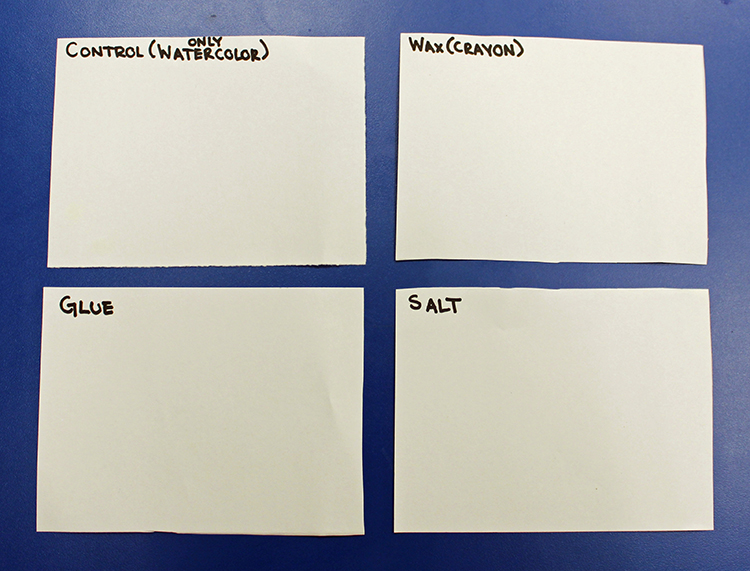
Label the four squares
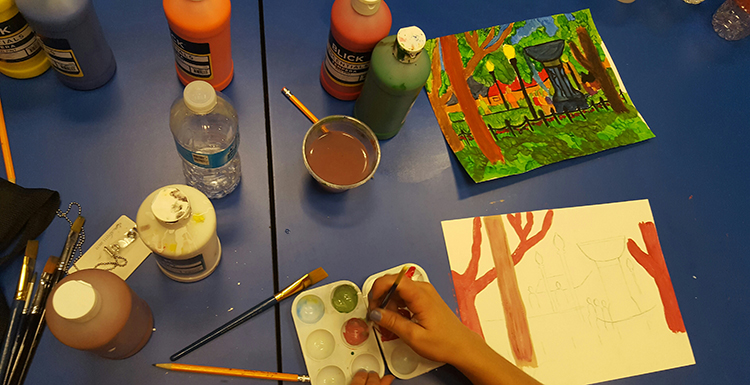
B) Take the piece of paper labeled “Control” and begin painting using the watercolors. In this test you’re observing how watercolor behaves on paper without any of the other materials.
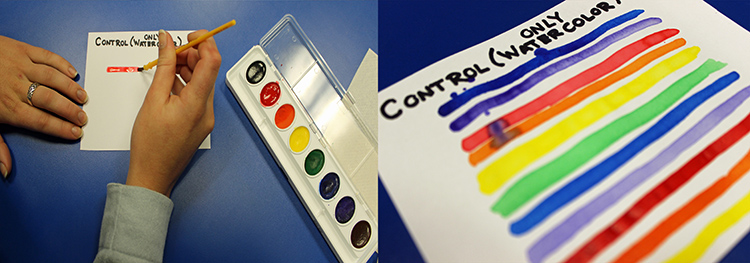
Paint with watercolor onto the control square
Jot down something you notice happening. In our control experiment, we observed the way watercolors interact with each other and on the paper. If you put two watercolors closely together, the paints bleed into each other, as you can see where the purple splashed into the red.
C) Let’s set up the glue test next. With your glue bottle in hand, gently squeeze a design onto the piece of paper labeled “Glue”. Put this piece of paper to the side. We’ll come back to this test when the glue has had time to dry.
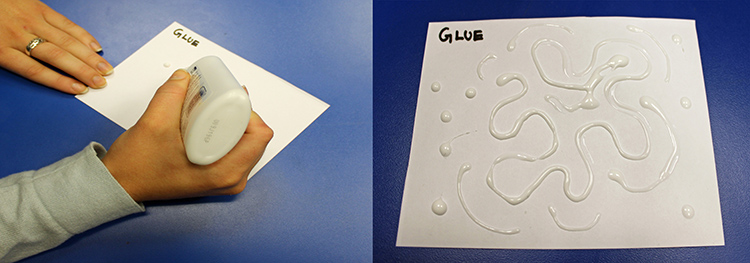
Use glue on the square labeled “glue”
D) For the third test, grab the piece of paper labeled “Salt” and have your salt ready. Start painting on this piece of paper with your watercolors. With the paint still wet, sprinkle salt over the paper.

The salt experiment
Remember to record your results! How is the salt reacting with the watercolor? We noticed that the places where we sprinkled salt showed a change in color pigment as the salt absorbed the water in the paints. Depending on how much salt was used, it created either lighter or more concentrated areas of paint and left a unique texture.
E) In your wax test, create a drawing using crayons. Draw whatever you’d like! Use the watercolors to paint over the areas of the paper where there’s crayon. What happens to the watercolor and the wax?
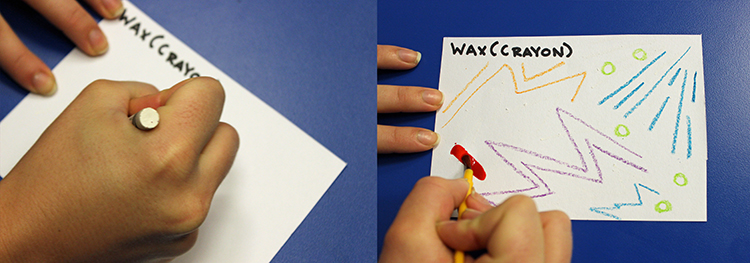
The wax test
Record what you see in your worksheet. In our wax experiment we noticed that the crayon repelled the watercolors. Therefore, when we painted over our crayon drawing the spots where we had used white crayons appeared extremely vibrant.
F) Lastly, return to your glue test. Check if the glue has dried. Paint over the paper with watercolor to see what happens.
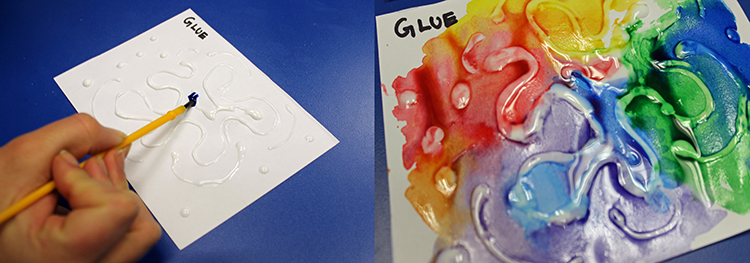
The glue experiment
Record your observations. We observed that the places where the glue had dried fully repelled the watercolor, similar to how the crayons did. However, in places where the glue hadn’t fully dried the watercolor bled into the glue.
Analysis: Review your findings. The information collected is called “data”. What happened to the watercolor in each test? Read your notes and record anything you might have missed.
Here are our results from the experiment

All four experiments
Conclusion: From your results, review your hypothesis with the data. Check to see if your data supports your guess and report what you’ve learned from the experiment . Were your predictions correct? Write down the outcome and what you’ve learned from this experiment.
For example, our hypothesis for salt was, “If salt is sprinkled on top of watercolor paint, then the salt will absorb the water in the paints leaving a change in color pigment.”
Our analysis of the salt experiment supported our hypothesis. We learned from our research that salt absorbs water, just as we predicted.There were some instances where the salt formed concentrated areas of pigment depending on the ratio of salt and paint used. Furthermore, we predicted that the wax and dried glue would repel the watercolor, while wet glue would mix with the watercolor. The results from the experiments proved our predictions to be correct.
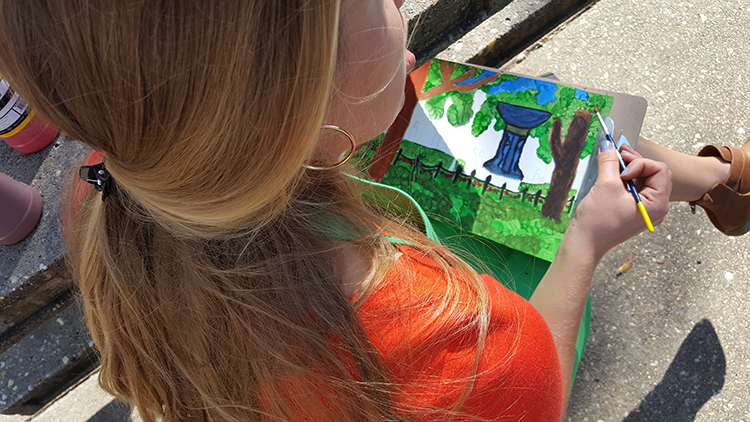
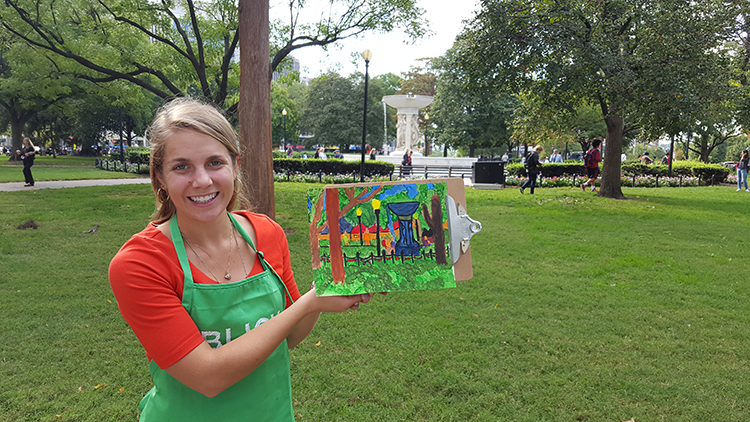
Step 3: Create your masterpiece. Now it’s time to create your own painting. Use the conclusions you drew from experimenting to brainstorm how you want to design your final piece. Maybe you want to build layers, mix all of the different materials together, or only use one. Have fun and see what happens!
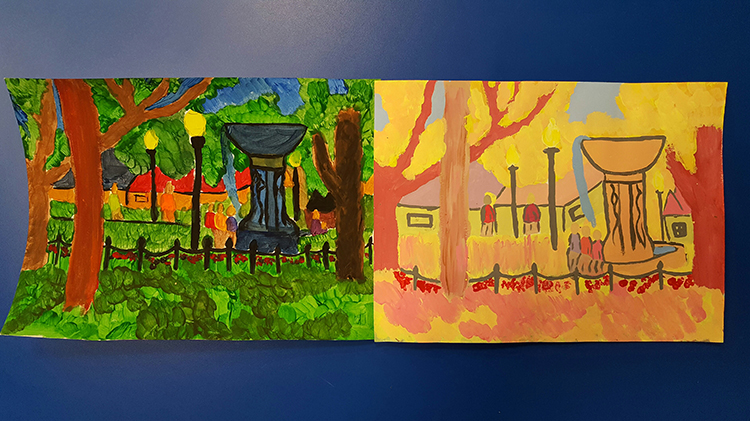
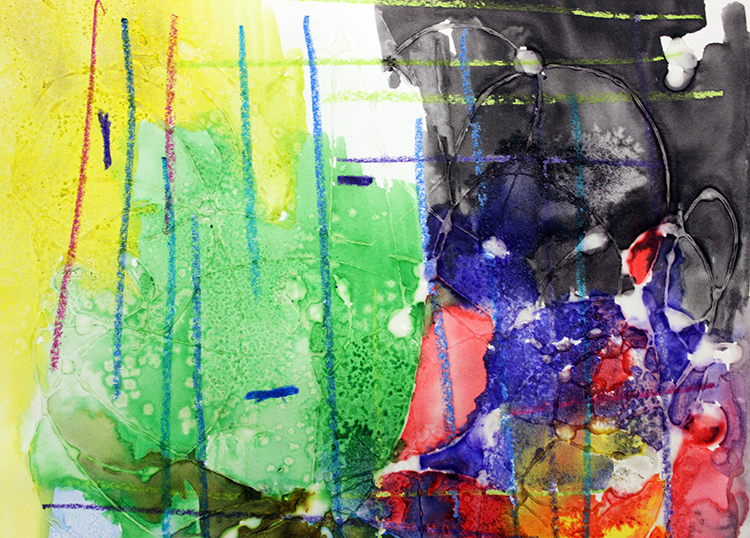
Here are our finished artworks:

(left) painting by Betty Q. Le, K12 Intern (right) painting by Marin Williams, K12 Intern
We each used all three materials building upon different layers.
We first drew with crayon, then added the glue, followed by painting with our watercolors and finishing our works by sprinkling salt on them. What do you think?
Ossorio is known for his use of organic lines, geometric forms, and bold colors. We manipulated the wax, salt, and glue in an attempt to imitate a natural, uncontrolled gesture similar to Ossorio’s.

Get a closer look of Betty’s painting. Can you tell where the salt, glue, and wax is used in the painting?
What about in Marin’s?
Step 4: Reflection. Look at what you’ve created! Isn’t it cool that you got to be both an artist and a scientist?
Ossorio was always concerned with displaying expressive gestures in his art. What kind of gestures did you make?
We hope you enjoyed experimenting with us today, and that you continue to question the world around you using the scientific method to guide your experiments. We would love to see where your experiments led you! Take a picture of your work and share it in the comments below.
Marin Williams and Betty Q. Le, K12 Education Interns