Stieglitz and Marin: Together, Apart, and Together Again, Part 3

In this three part series, Conservation Assistant Caroline Hoover outlines the process of treating a photogravure by Marius de Zayas. Read Part 1 here and Part 2 here.
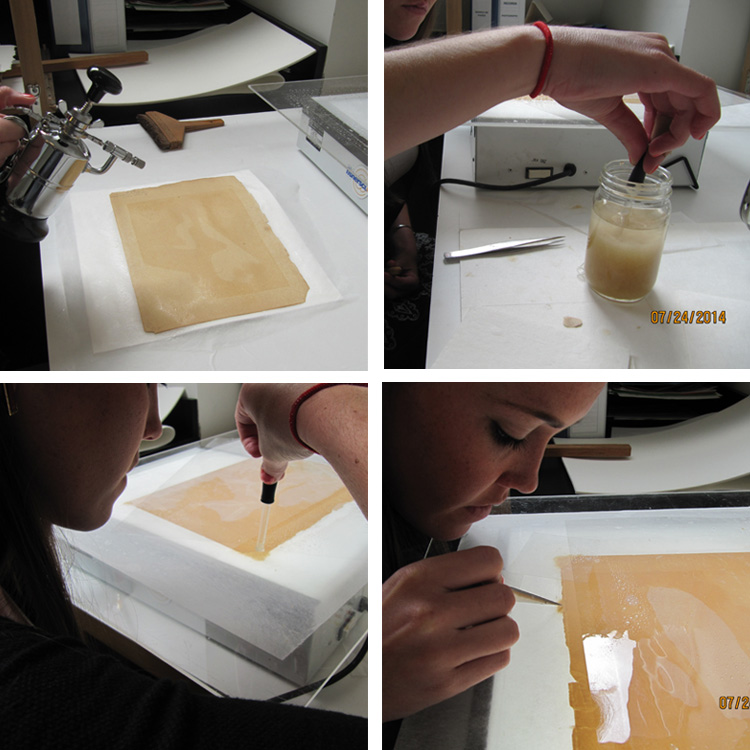
photo 13 - 14 - 15 - 16

(clockwise from top left) Spraying to wet up for pulp fills; using an eye dropper to get blended color matched pulp; dropping pulp into loss areas to correct thickness and transparency on light box; adjusting pulp fills to correct thickness

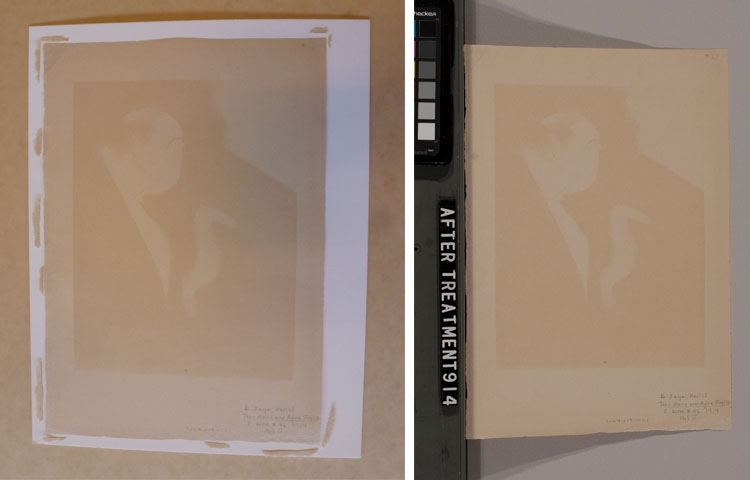
Paper pulp was prepared from a high quality artist paper to fill in the losses around the edges of the brittle backing paper. The backing paper was wet up in order to attach these areas of pulp. Using an eye dropper and tweezers, the pulp was dropped into the areas of loss and built up to the same thickness of the original paper. Excess water was removed and the fills were then coated with a sizing agent to ensure attachment. The paper, with its new fills, was dried between felts. Afterwards, the pulp fills were trimmed to the edge of the original paper.

photo 17 - 18

(left) Using a bone folder to get rid of excess water and flatten fills (center) coating fills with methyl cellulose to size (right) drying whole piece with fills

photo 20 - 21

(left) photogravure next to pulp filled paper (right) detail of fills

photo 22 - 23

(left) trimming excess fills (right) Alfred Stieglitz and John Marin backing page

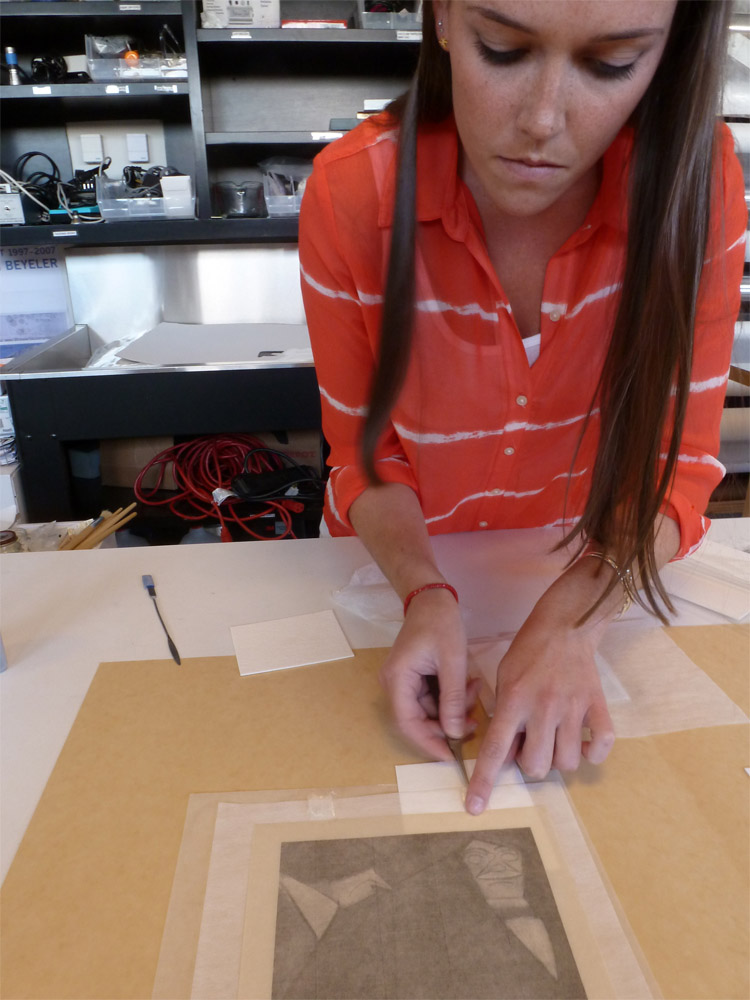
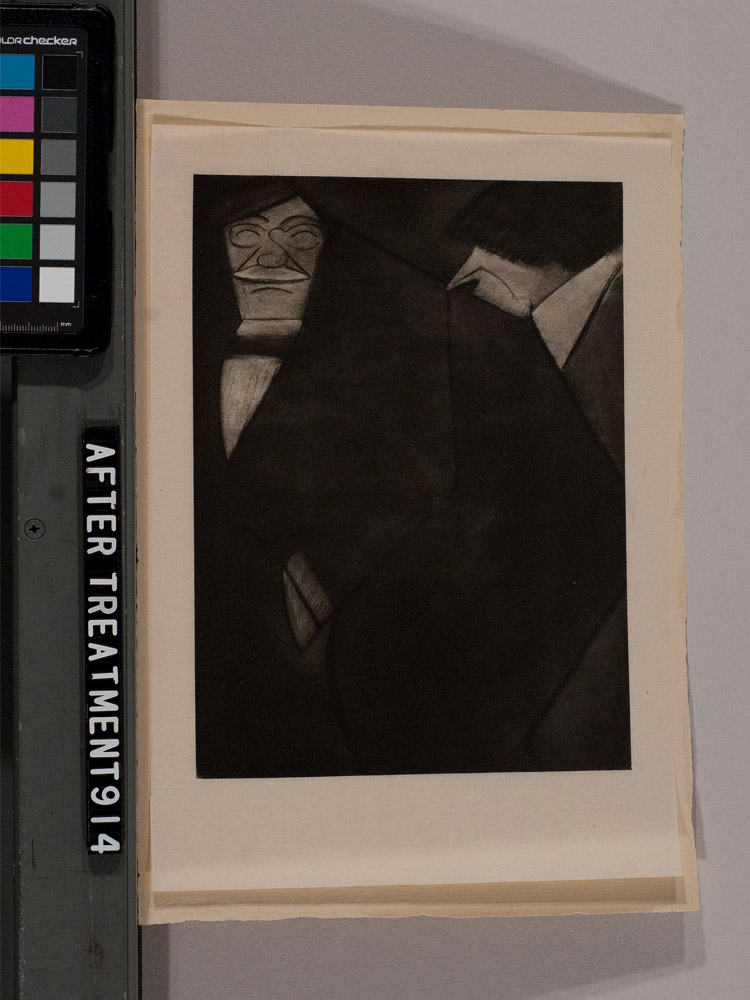
Two tiny, thin Japanese tissue hinges were used to re-attach the photogravure to its backing paper at the top edge to secure the artwork. The picture is now ready to join its companions in a future exhibit.

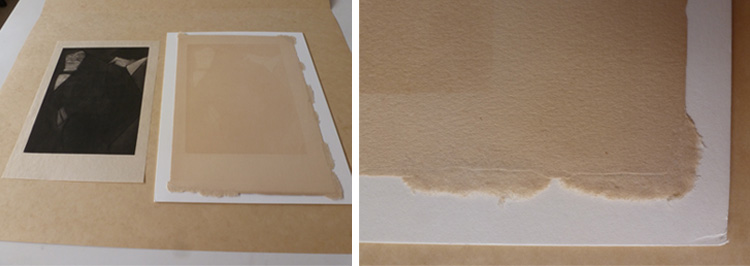
photo 24

Attaching hinges

photo 25

The piece after treatment

A Closer Look: Conserving Made in the USA

Take a look at how the Phillips conservation team prepared for Made in the USA, including starting two years in advance of the exhibition and removing 60 years of accumulated grime from the surface of Bradley Walker Tomlin‘s
No. 9 (1952).

A Subtle But Significant Improvement: Conserving A “Petal Painting” (Part III)

Read parts one and two of this series.

Results of Treatment

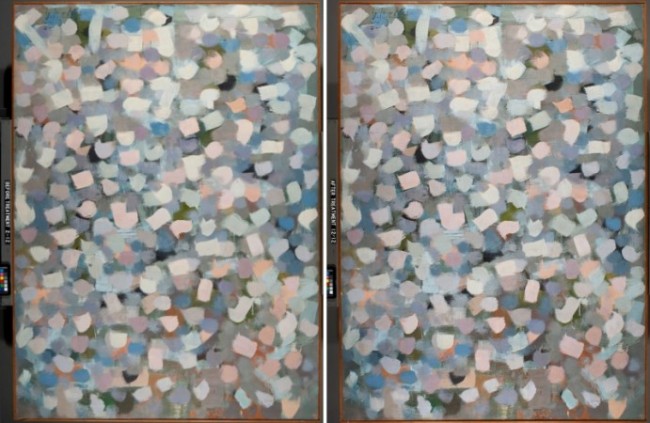
Treatment resulted in a subtle but significant improvement to the picture’s appearance. Greater contrast between the dark colors in the background and the pastel “petals” in the foreground returns a sense of vibrancy and movement to the composition. In addition, although they remain inherently fragile, consolidation left the paint layers more stable–improving the overall condition of the picture.

Number 8 seen Before Treatment, left, and After Treatment, right

No. 8 seen Before Treatment, left, and After Treatment, right

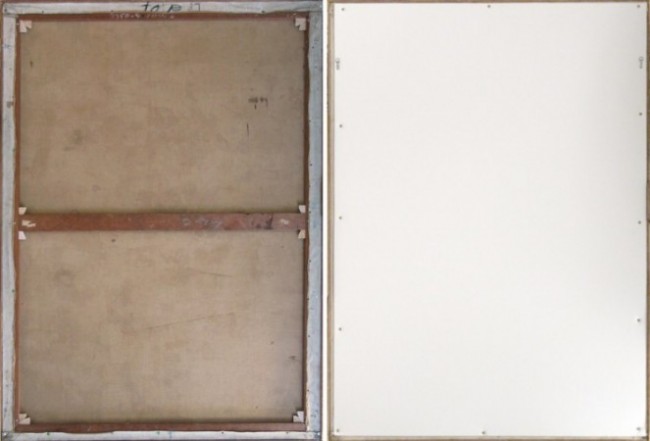
Left: The back of the painting, exposed; note the lighter color of the new stretcher keys against the darker, aged wood of the stretcher Right: The back of the painting with a protective foam-core backing.

Left: The back of the painting showing the canvas and stretcher. Right: The back of the painting with a protective foam-core backing, attached to the stretcher to add support and protect the back of the canvas from dust and blows.