Our fifth project of the Phillips-at-Home Summer Series features the artist Alexander Calder and his work Only, Only Bird. For this art activity, you are going to create a suspending bird sculpture out of reusable materials. What is a suspending sculpture? A suspending sculpture is a piece of artwork that can be viewed from any angle and is usually hung from a ceiling.

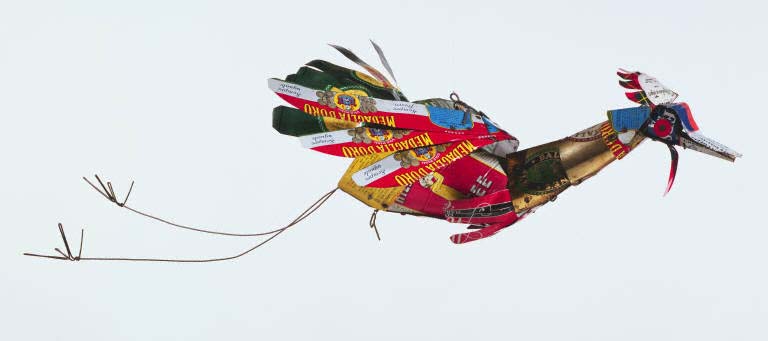
Alexander Calder, Only, Only Bird, 1951, Tin cans and wire 11 x 17 x 39 in.; Acquired 1966; © 2008 Estate of Alexander Calder/Artists Rights Society (ARS); The Phillips Collection, Washington, D.C.
Look closely: What do you notice in this sculpture? Why do you think Calder used tin cans to create his bird sculpture? What is the significance of the reusable materials? What kind of bird would you create out of reusable materials?
About the Artist: Alexander Calder was born in 1898 in Lawnton, PA. He graduated from the Stevens Institute of Technology in 1919 with a degree in mechanical engineering and held several jobs before he went to the Art Students League of New York in 1923. Calder is best known for his work with kinetic sculpture, especially mobiles. His work was exhibited in several large retrospectives, including the Solomon R. Guggenheim Museum, New York: the Musée National d’Art Moderne, Paris; the Museum of Contemporary Art, Chicago; and the Whitney Museum of American Art, New York. Calder passed away in New York on November 11, 1976, soon after the opening of his last retrospective, which he installed himself.
Marjorie Phillips had seen a photograph of the Only, Only Bird and desired it for her 1966 exhibition, Birds in Contemporary Art. She not only published it on the cover of the catalogue, but also purchased it for the permanent collection. Marjorie admired Calder’s work, stating that “in bird sculpture, more imaginative daring conceptions and materials have been used than in any previous age. Calder’s most delightful vigorous ‘Only, Only Bird’ is developed from a tin can.”
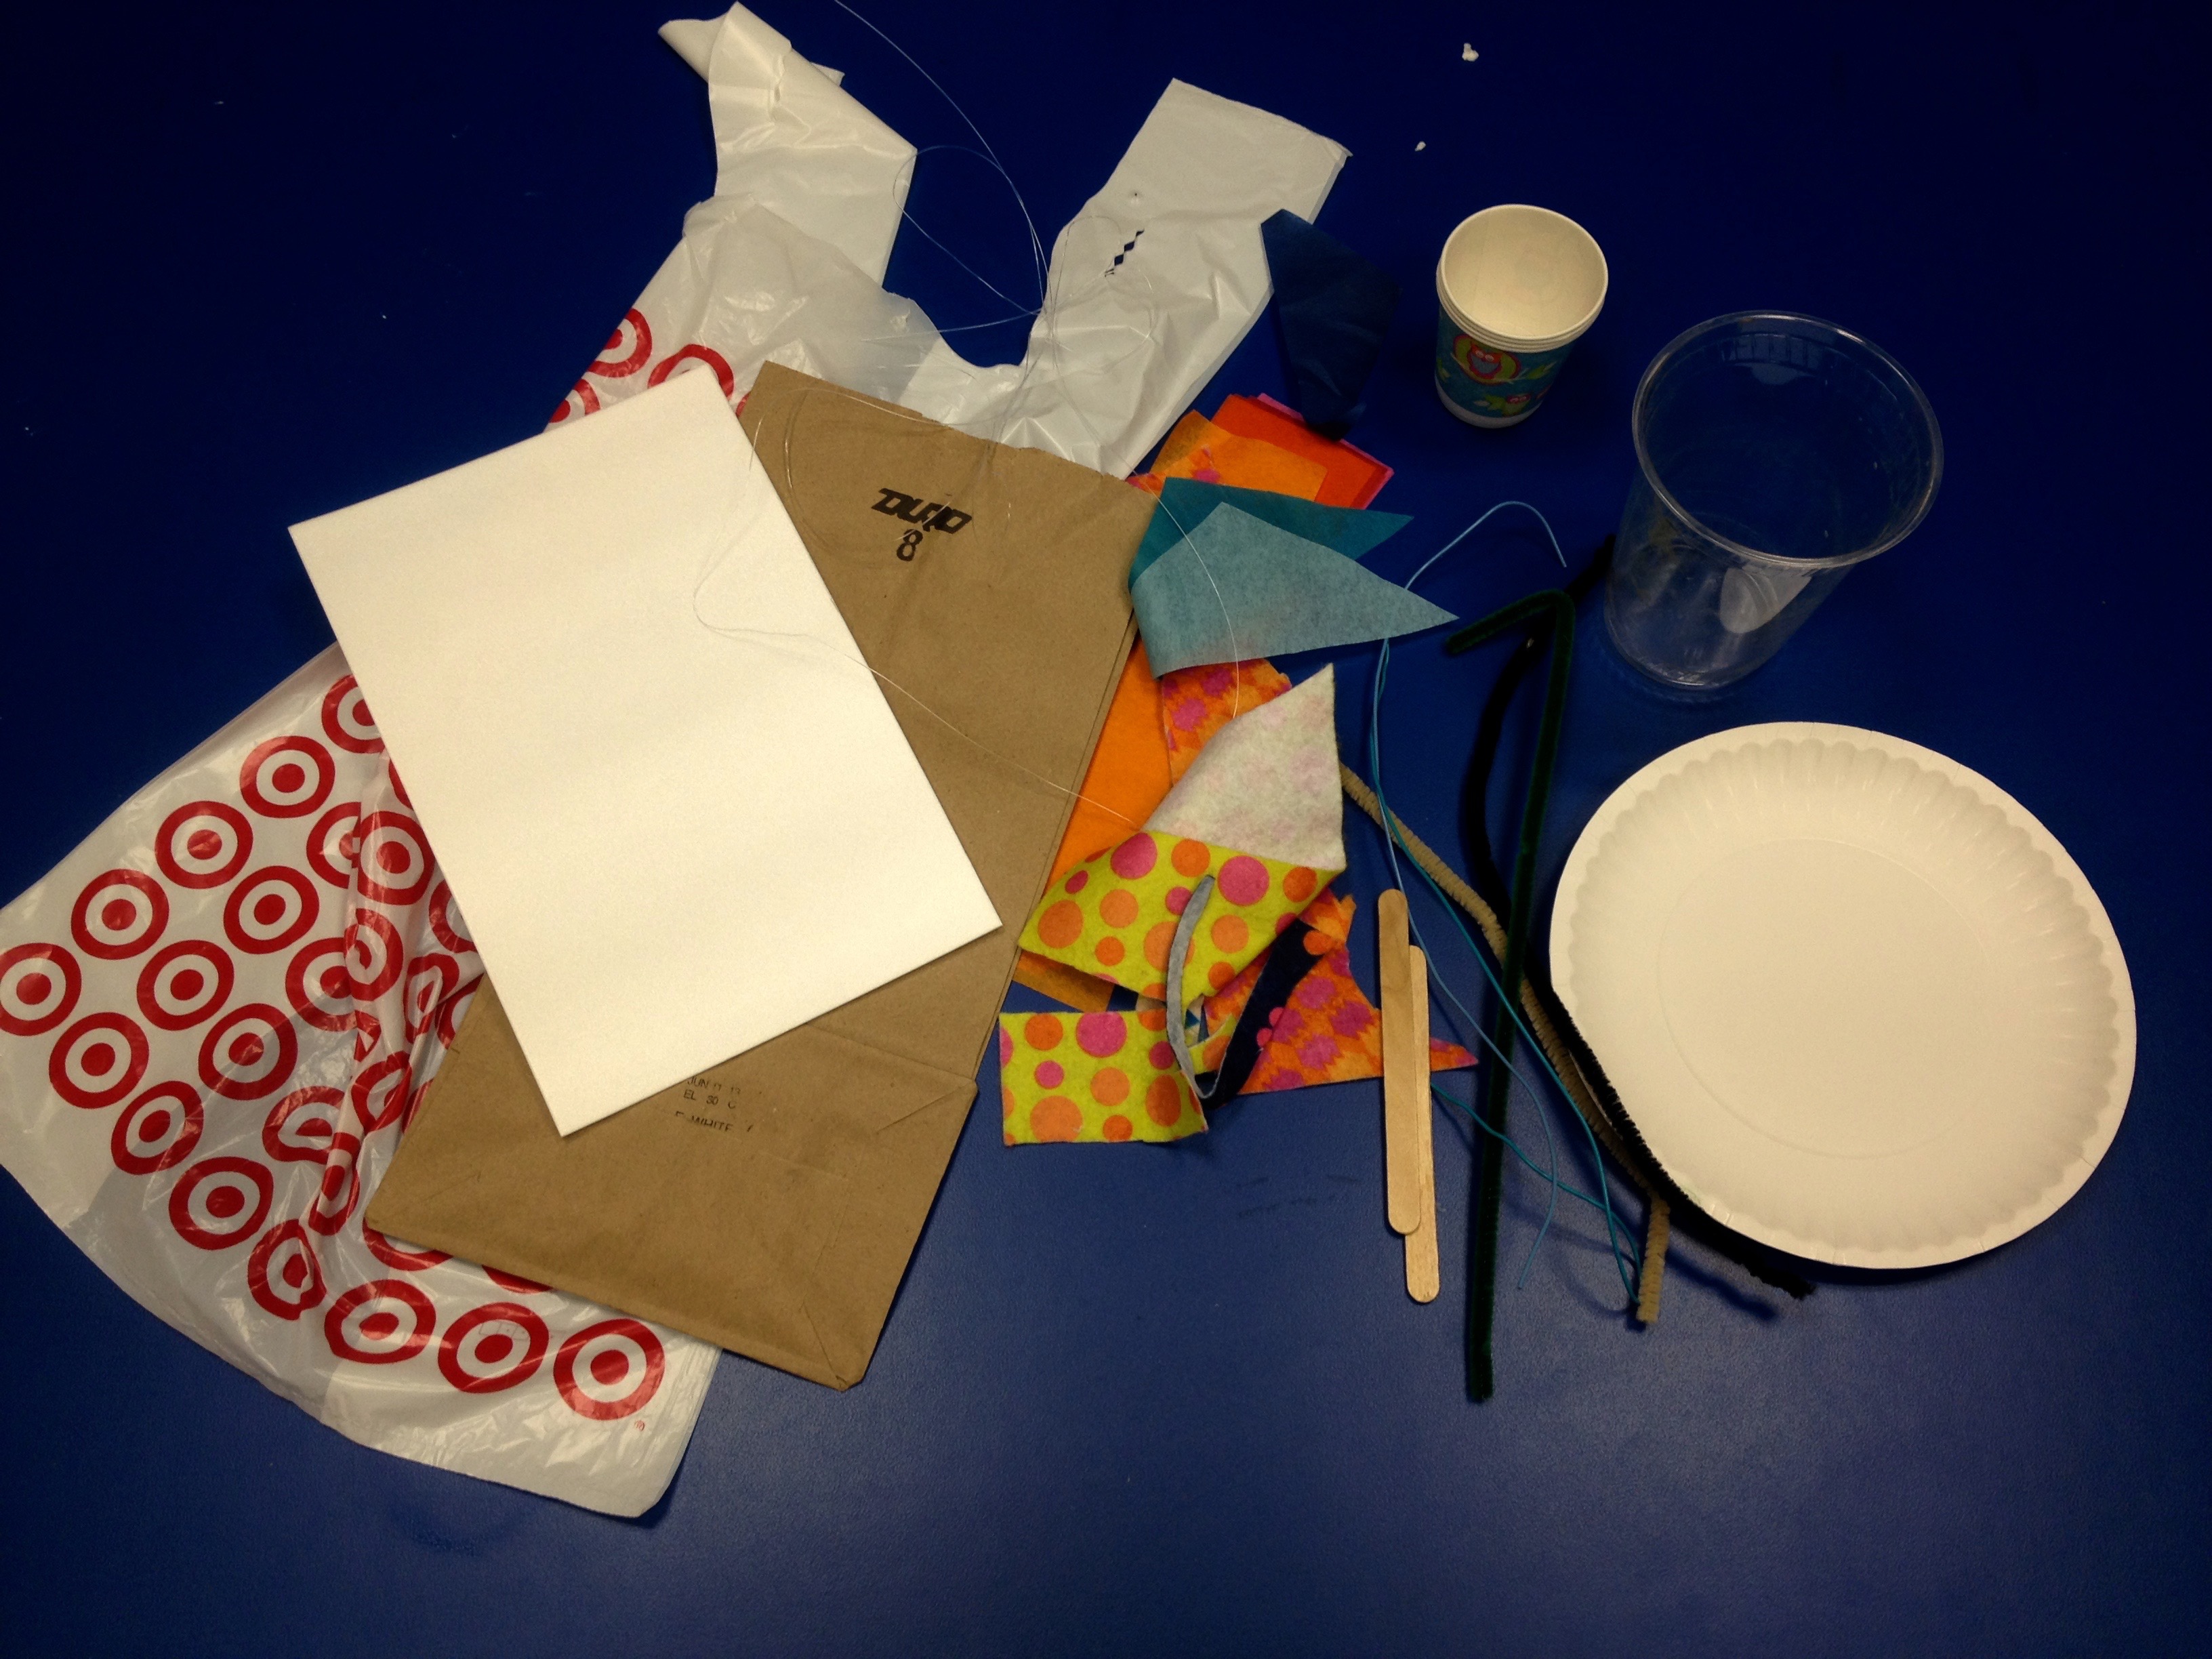
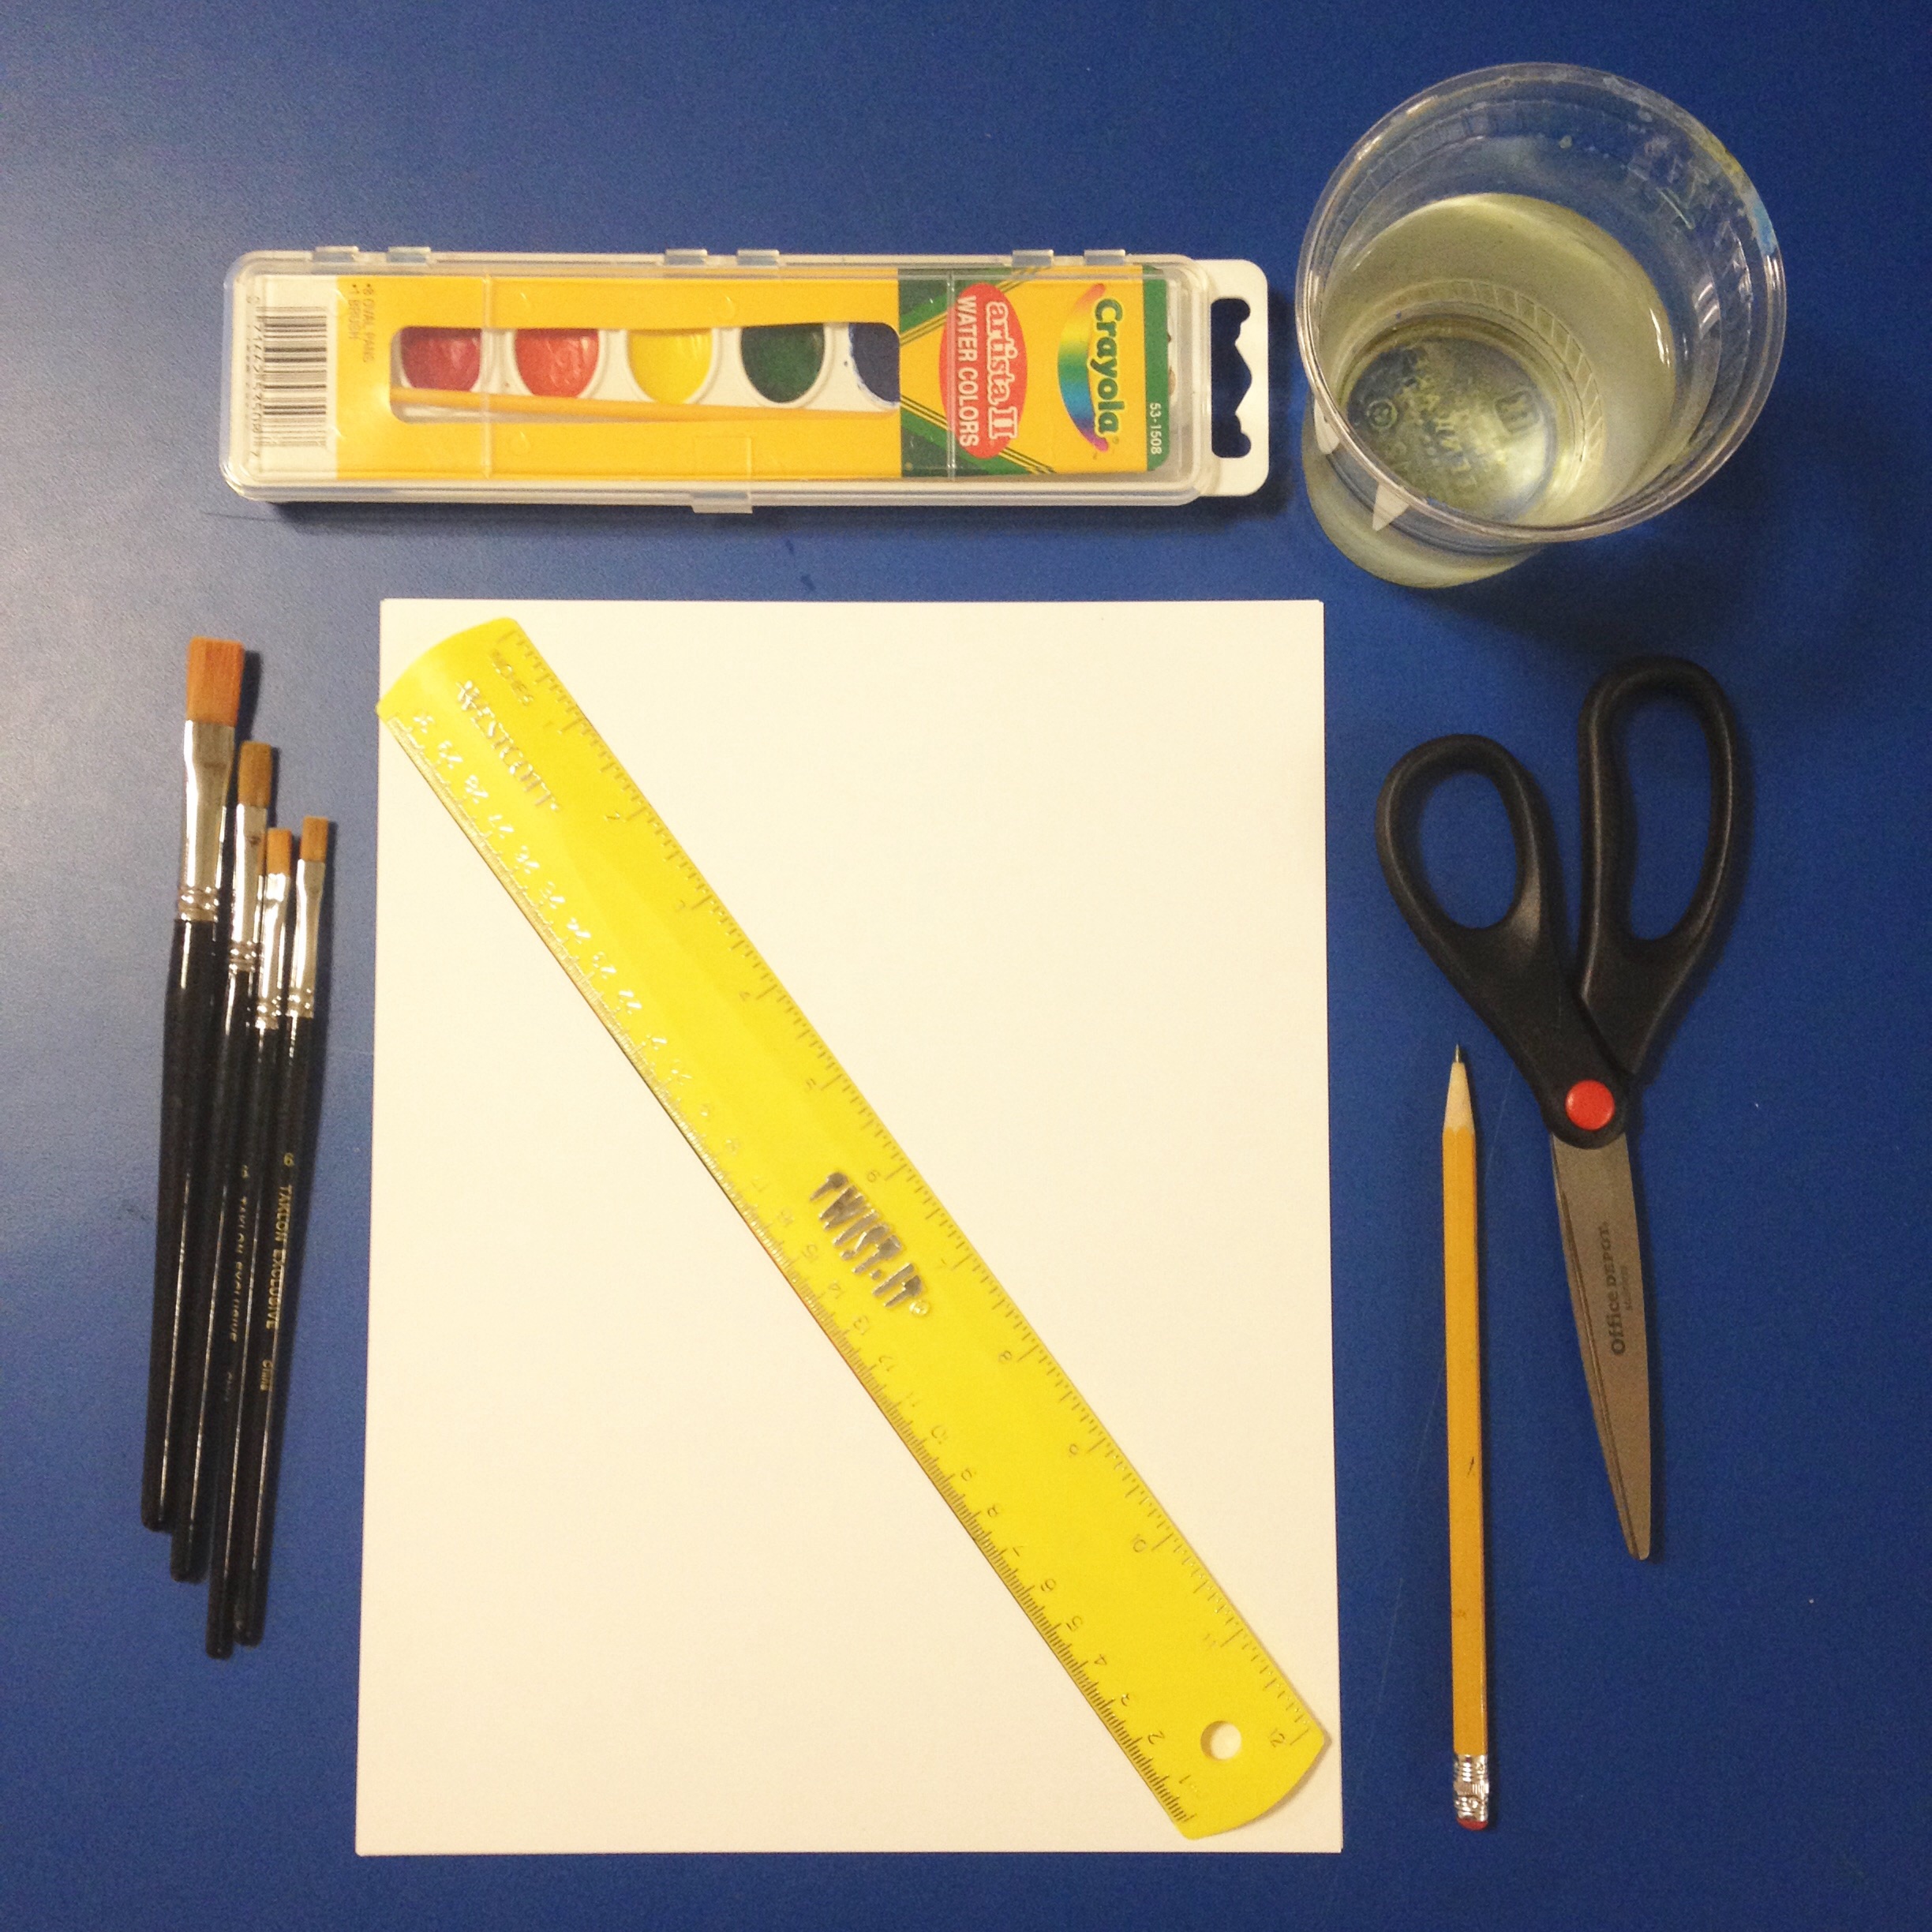
WHAT YOU NEED:
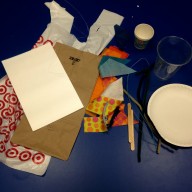
Ideas for reusable materials needed
- Possible reusable (clean) items: plastic water/soda bottles, paper towel holders, tissue boxes, cups, plates, newspapers, magazines, chenille stems, beads, or anything else that you find to be reusable
- Clear wire/fishing line
- Glue
- Pen
- 8.5” x 11” white paper
- Tissue or construction paper
- Tape
- Scissors
SUGGESTED AGE:
TIME FRAME:
STEPS:
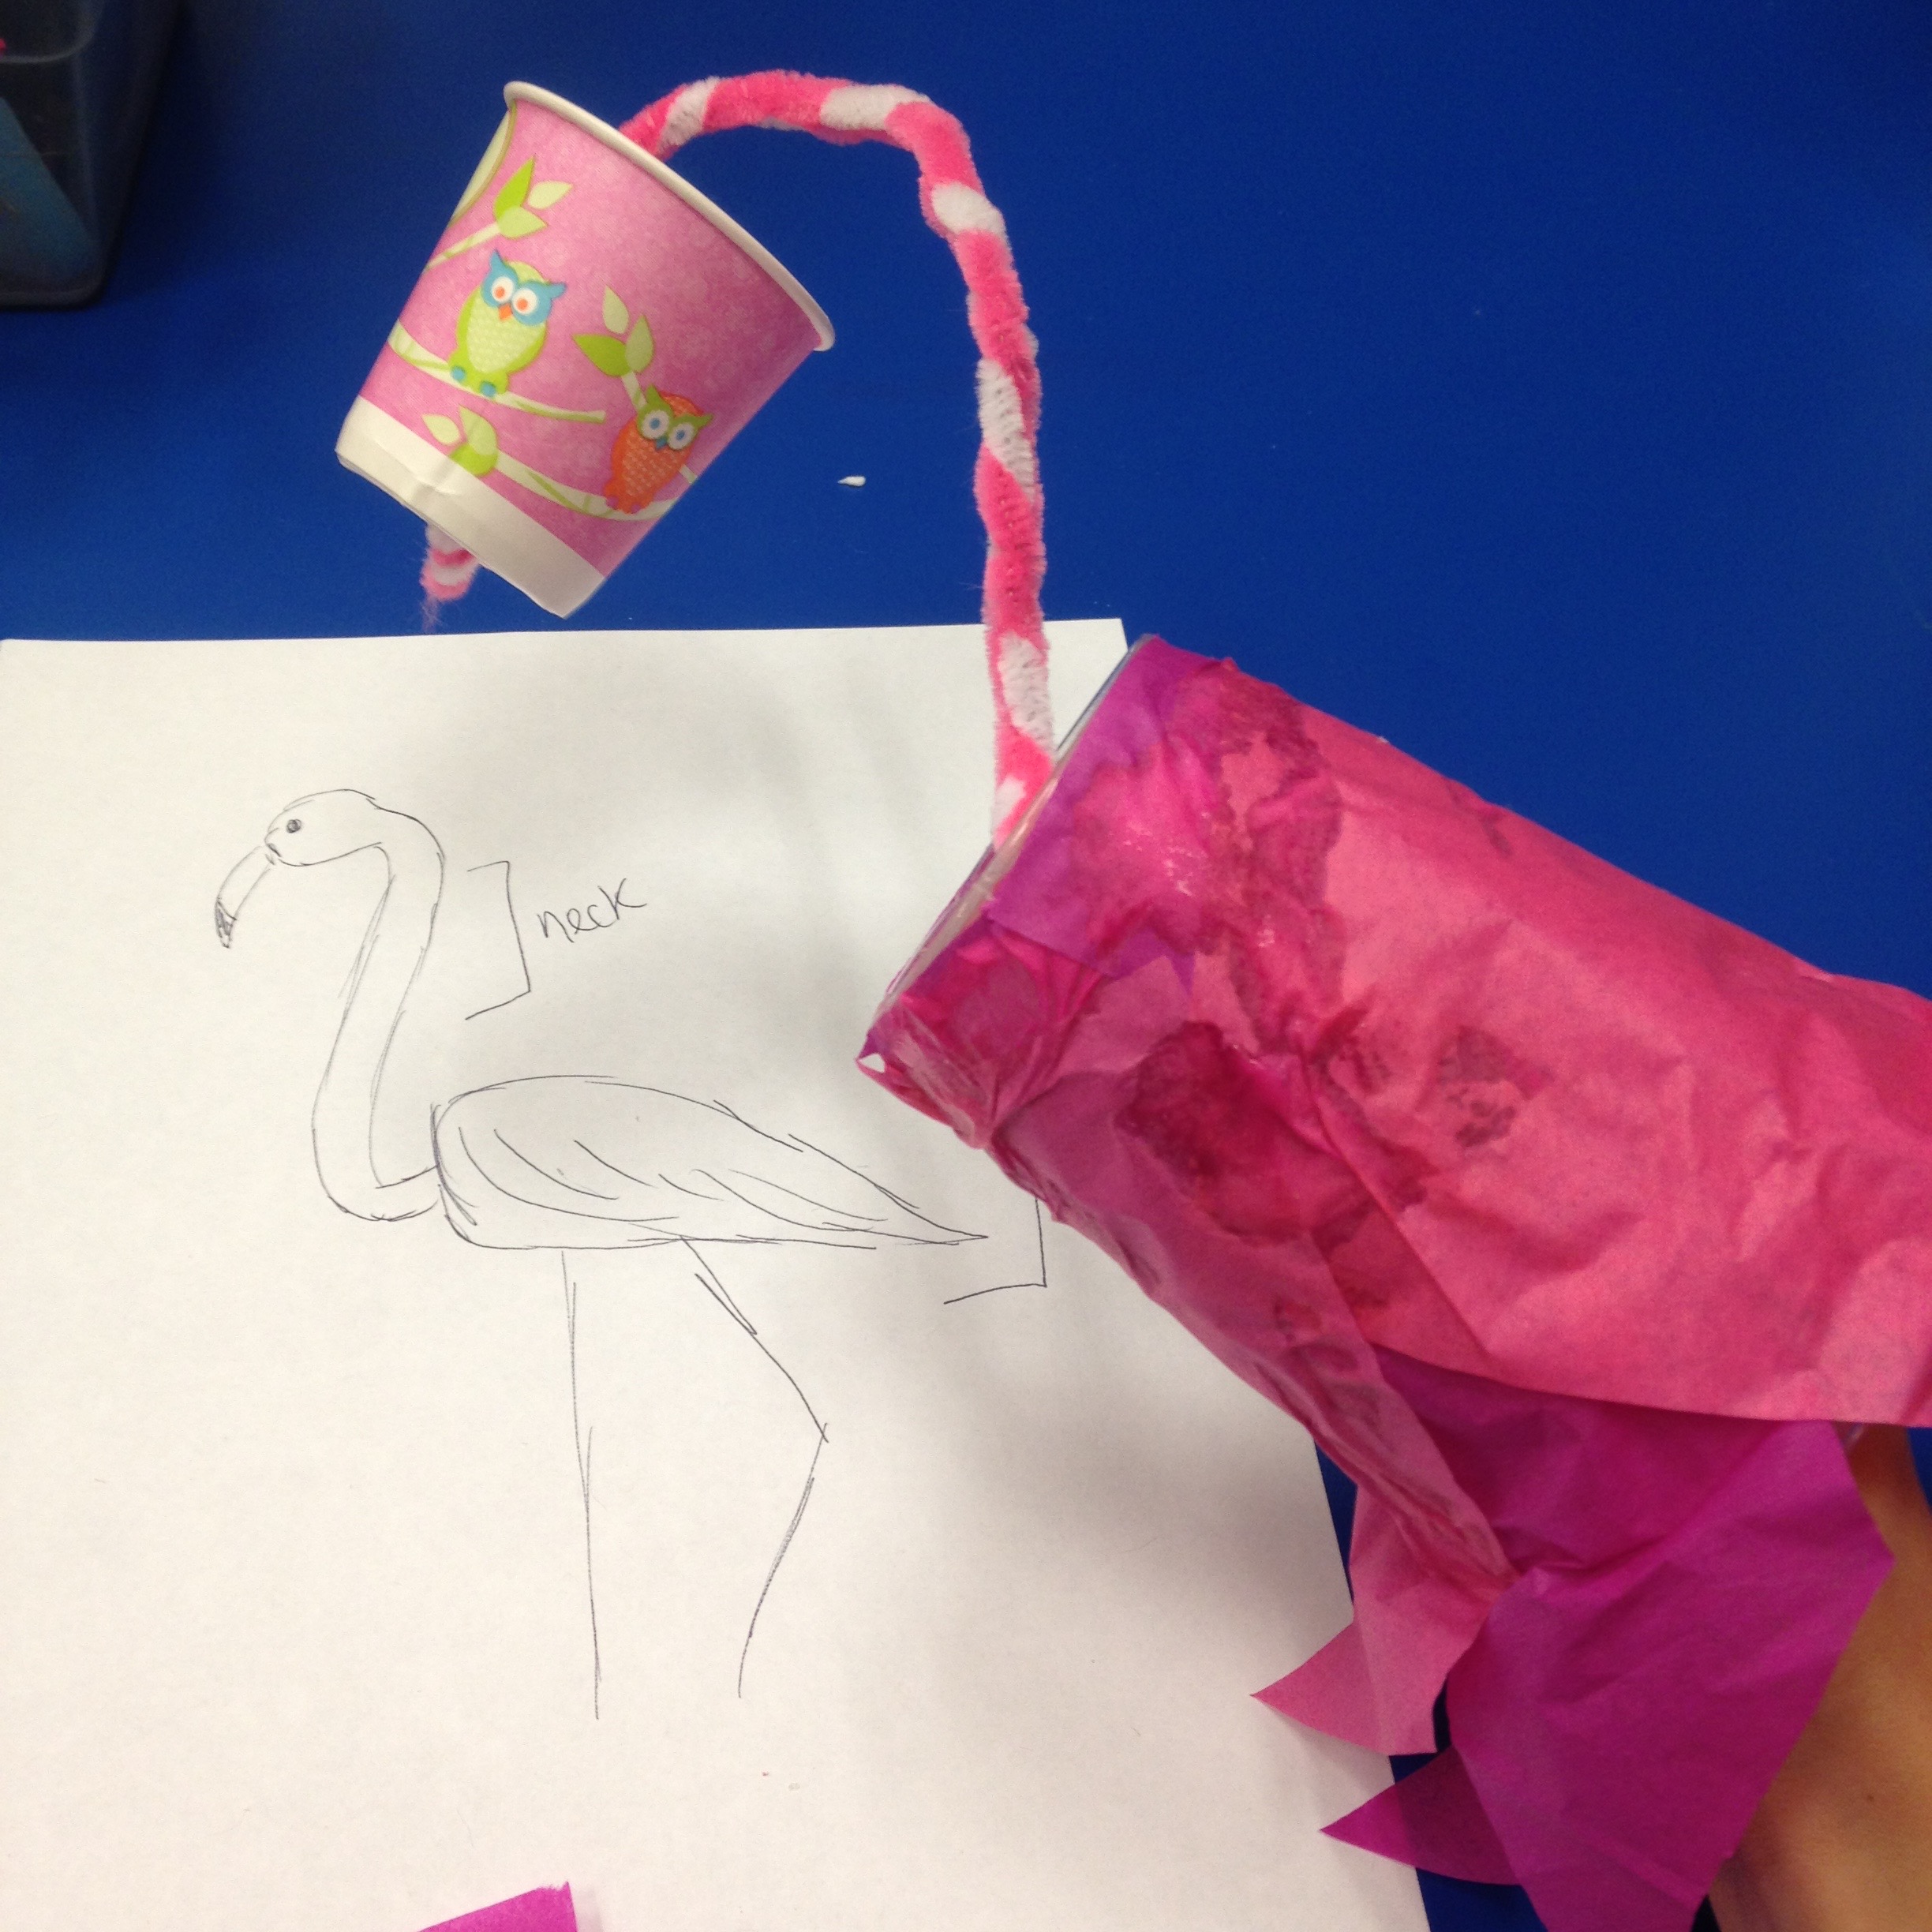
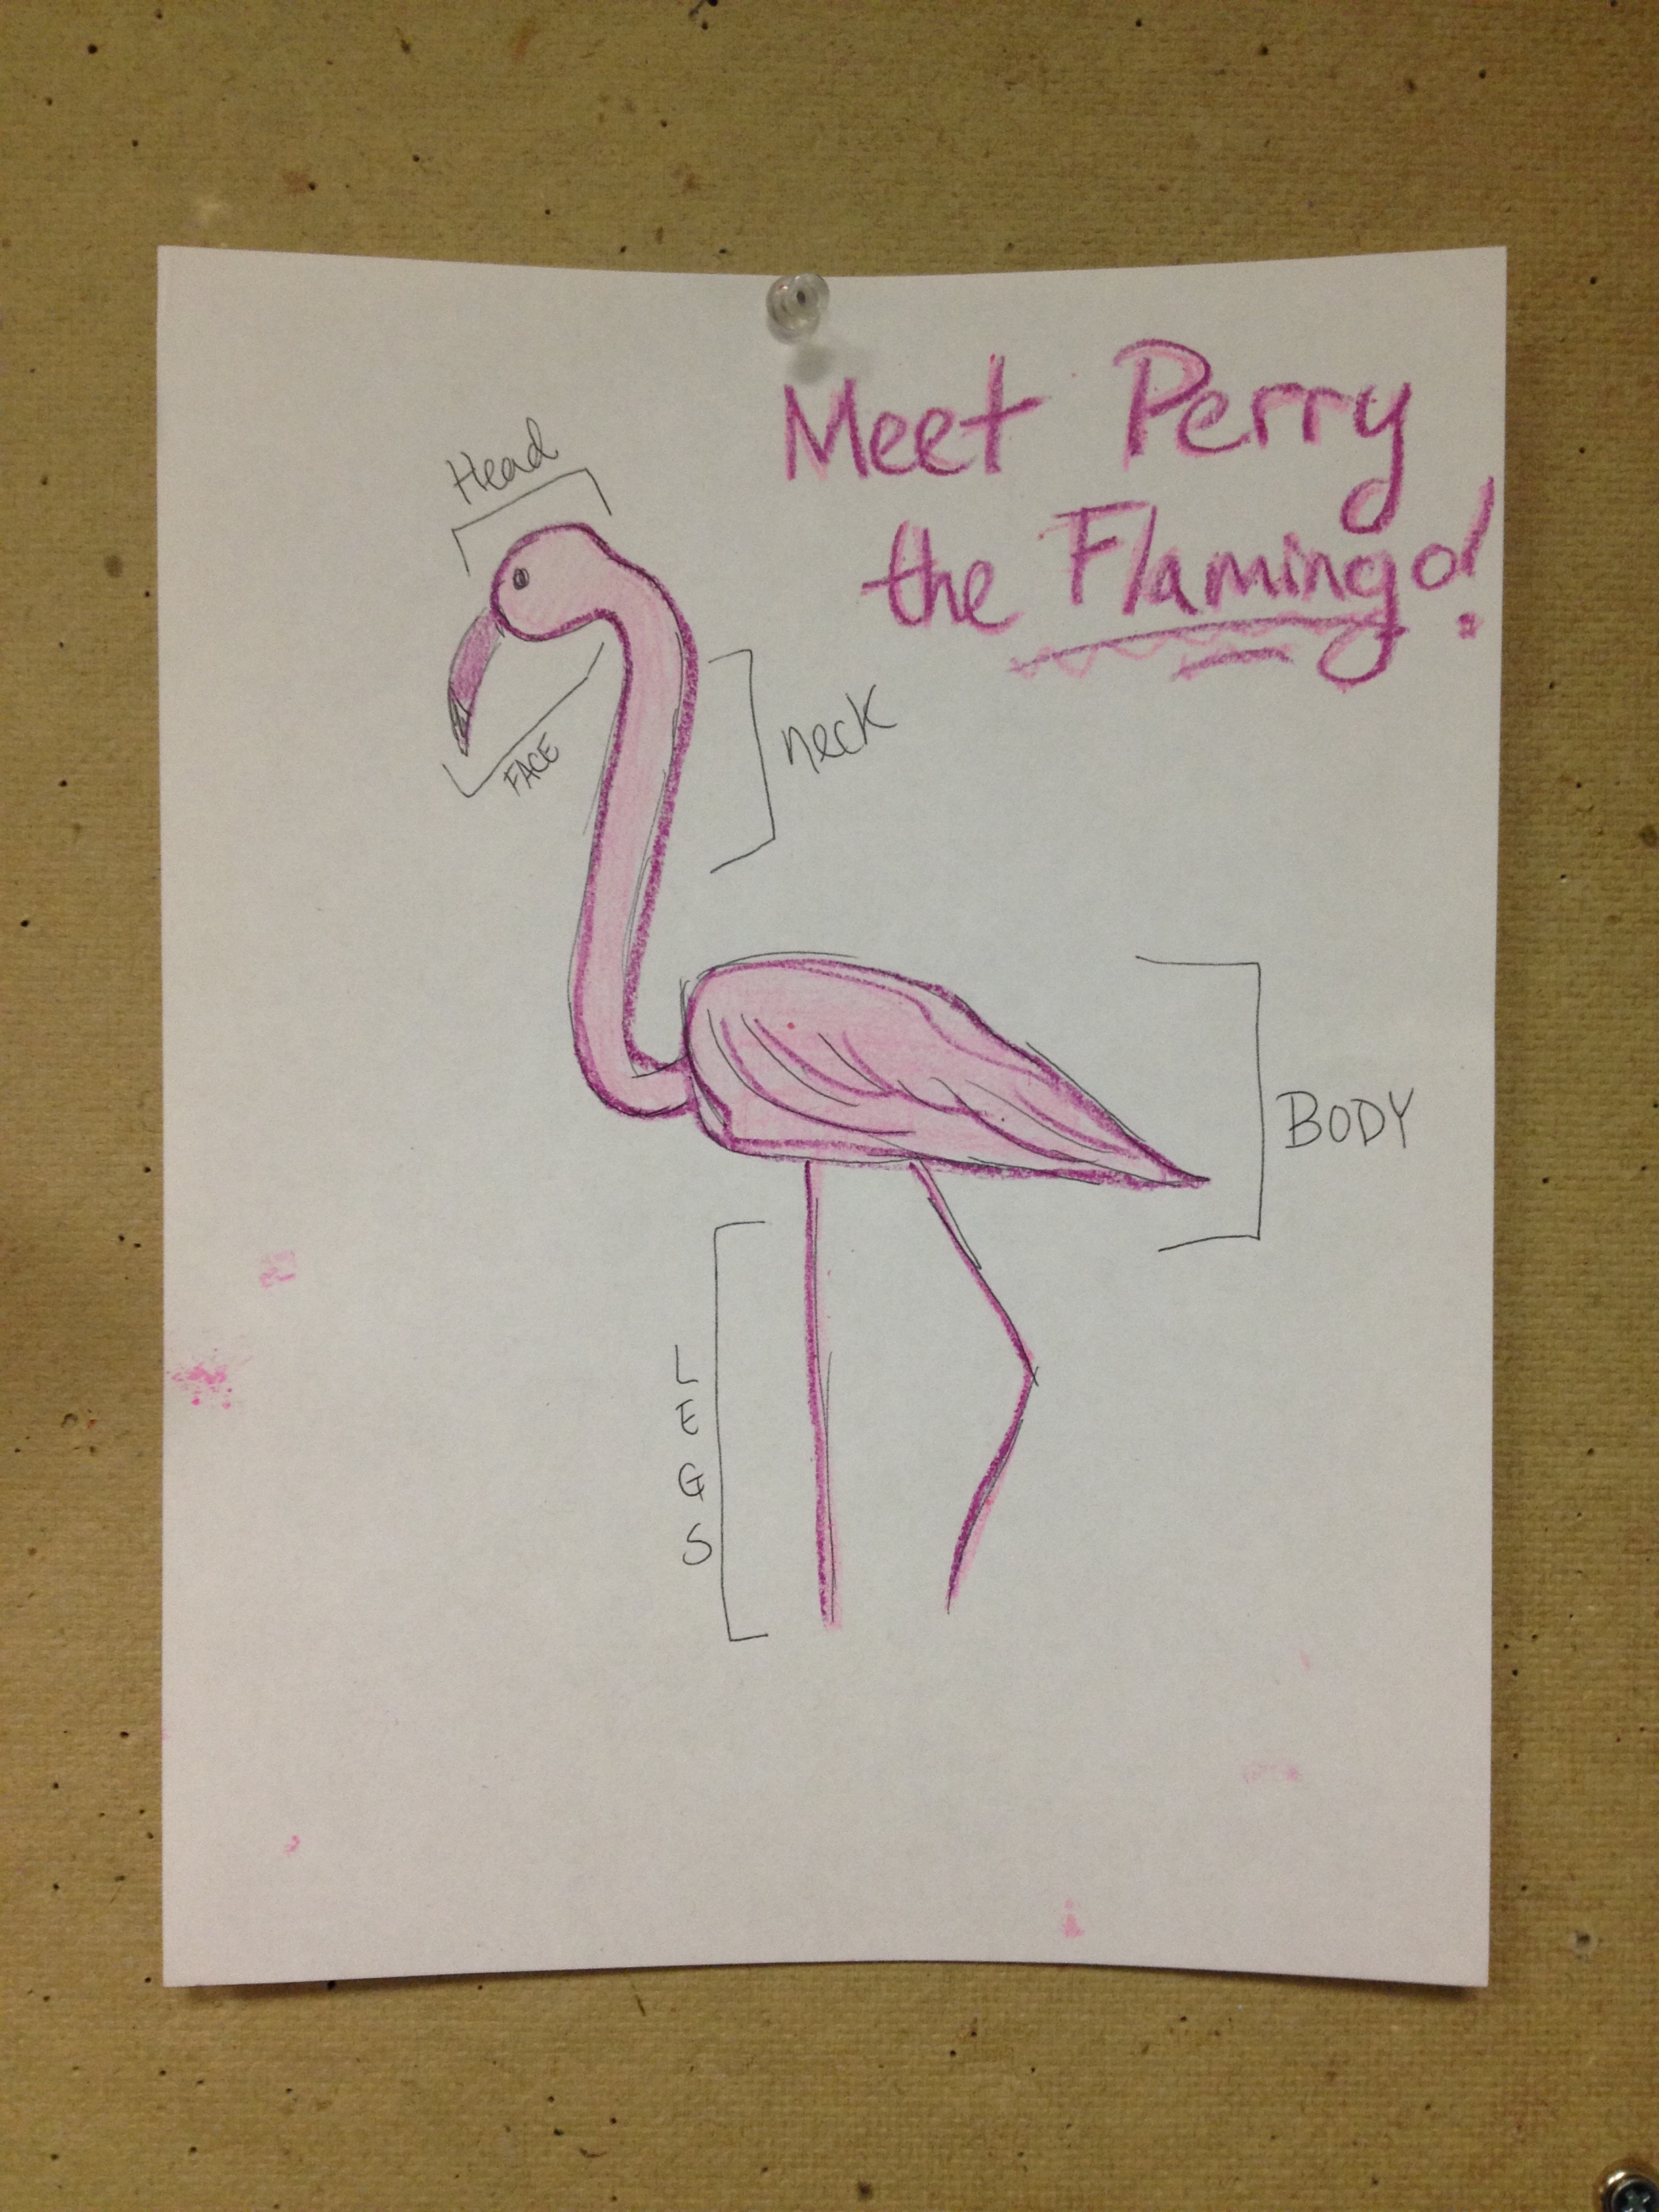
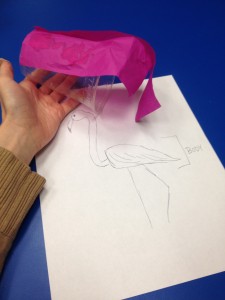
1. What bird do you wish to create a sculpture of? Find a photograph of your bird. Do a quick pen sketch using the photograph to help you draw it. I chose a flamingo.
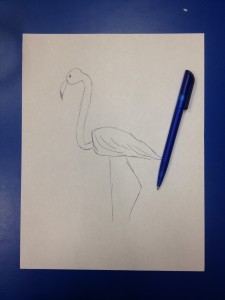
Step 1 – Sketch
2. Now, think about what reusable materials you could use to create your bird. Every bird is going to need different materials because every bird is unique.
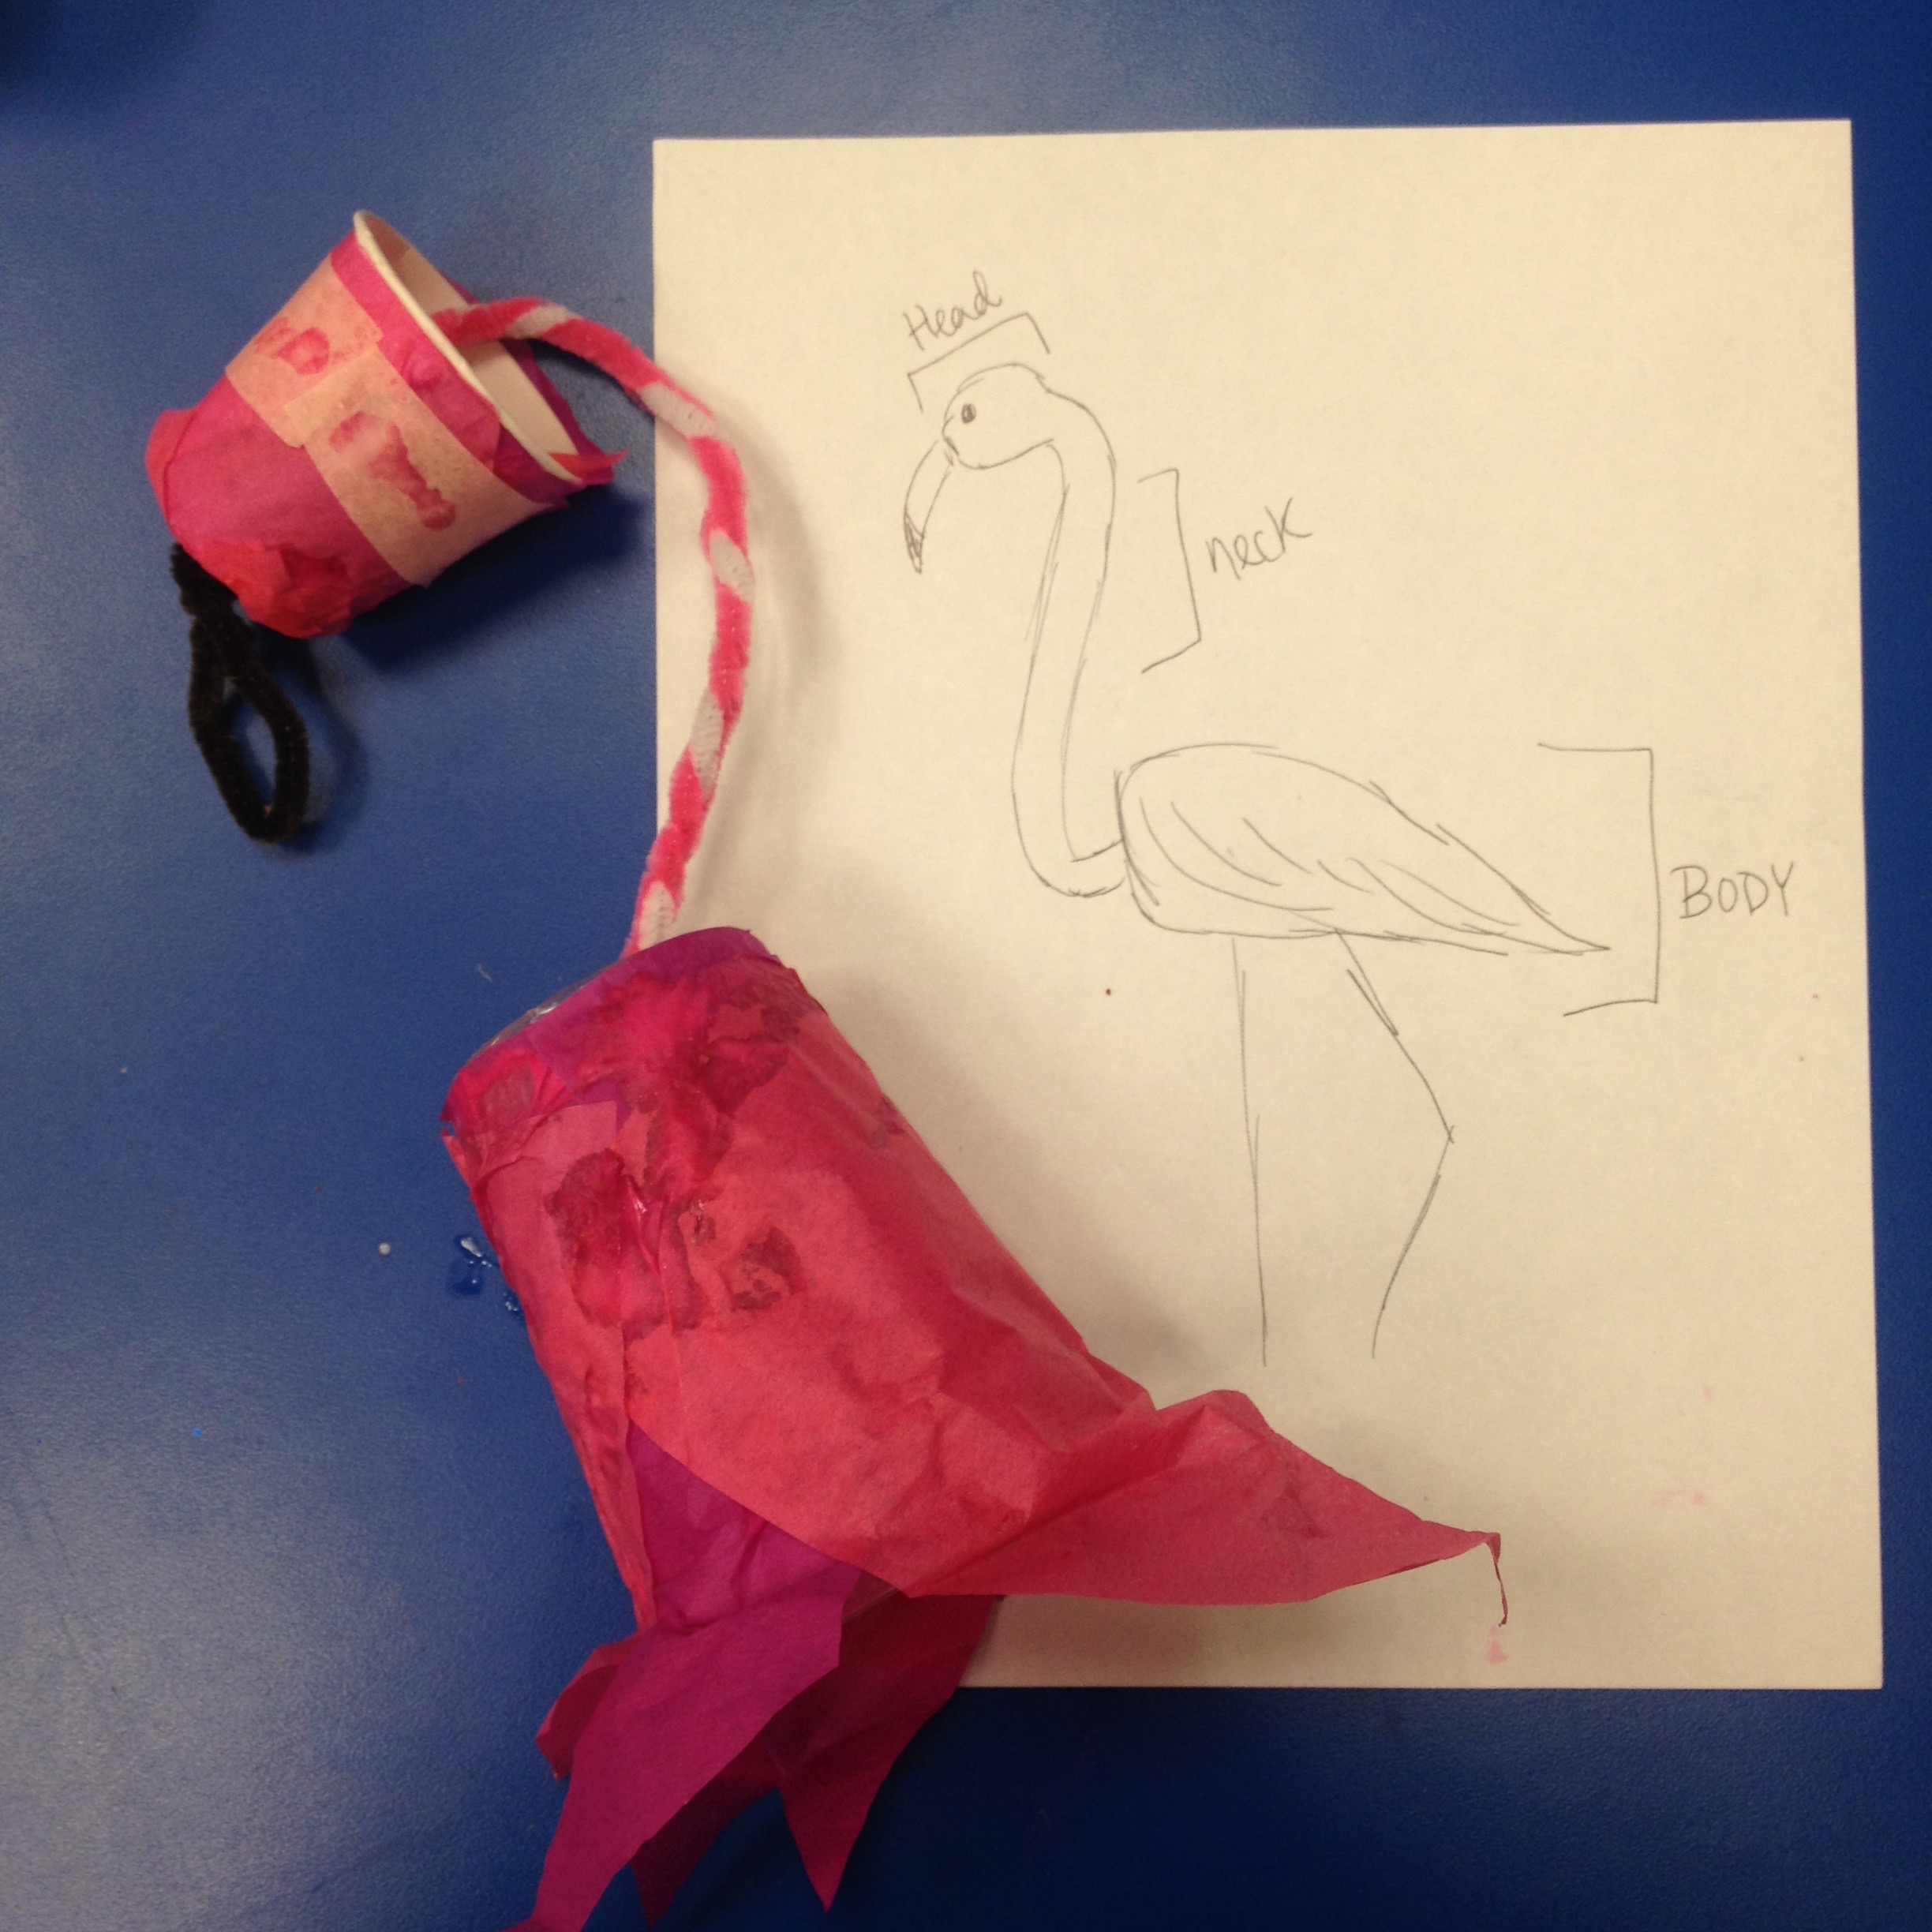
3. You will create the main body of your bird first. I used a large cup as my base and layered it by gluing tissue paper to resemble feathers. You could use newspaper or magazine strips to resemble feathers as well.
Step 3
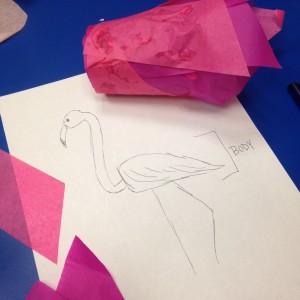
Step 3
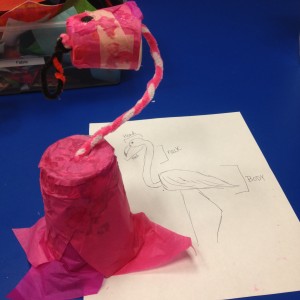
4. Then, think about what your neck will be made out of. I decided to braid chenille stems. I poked a hole in the cup in order to attach the neck to the body.
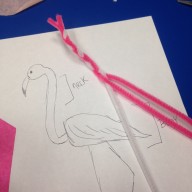
Step 4
5. Don’t forget the head! I chose a smaller cup to use for the head, using the same technique of layering tissue paper. Poke another hole to attach the other end of the neck.

Step 5
6. Add features to detail your bird’s face. Think about what you want the eyes and beak to look like. I chose to use chenille stems. Remember you can use whatever materials fits your bird’s needs.

Step 5
Step 5
7. For the legs, I chose to attach chenille stems to the bottom of my main cup body with tape. Every bird is different so it depends on the size of your bird’s legs.
8. Finally, add any other features with your reusable materials that might be special to your bird.
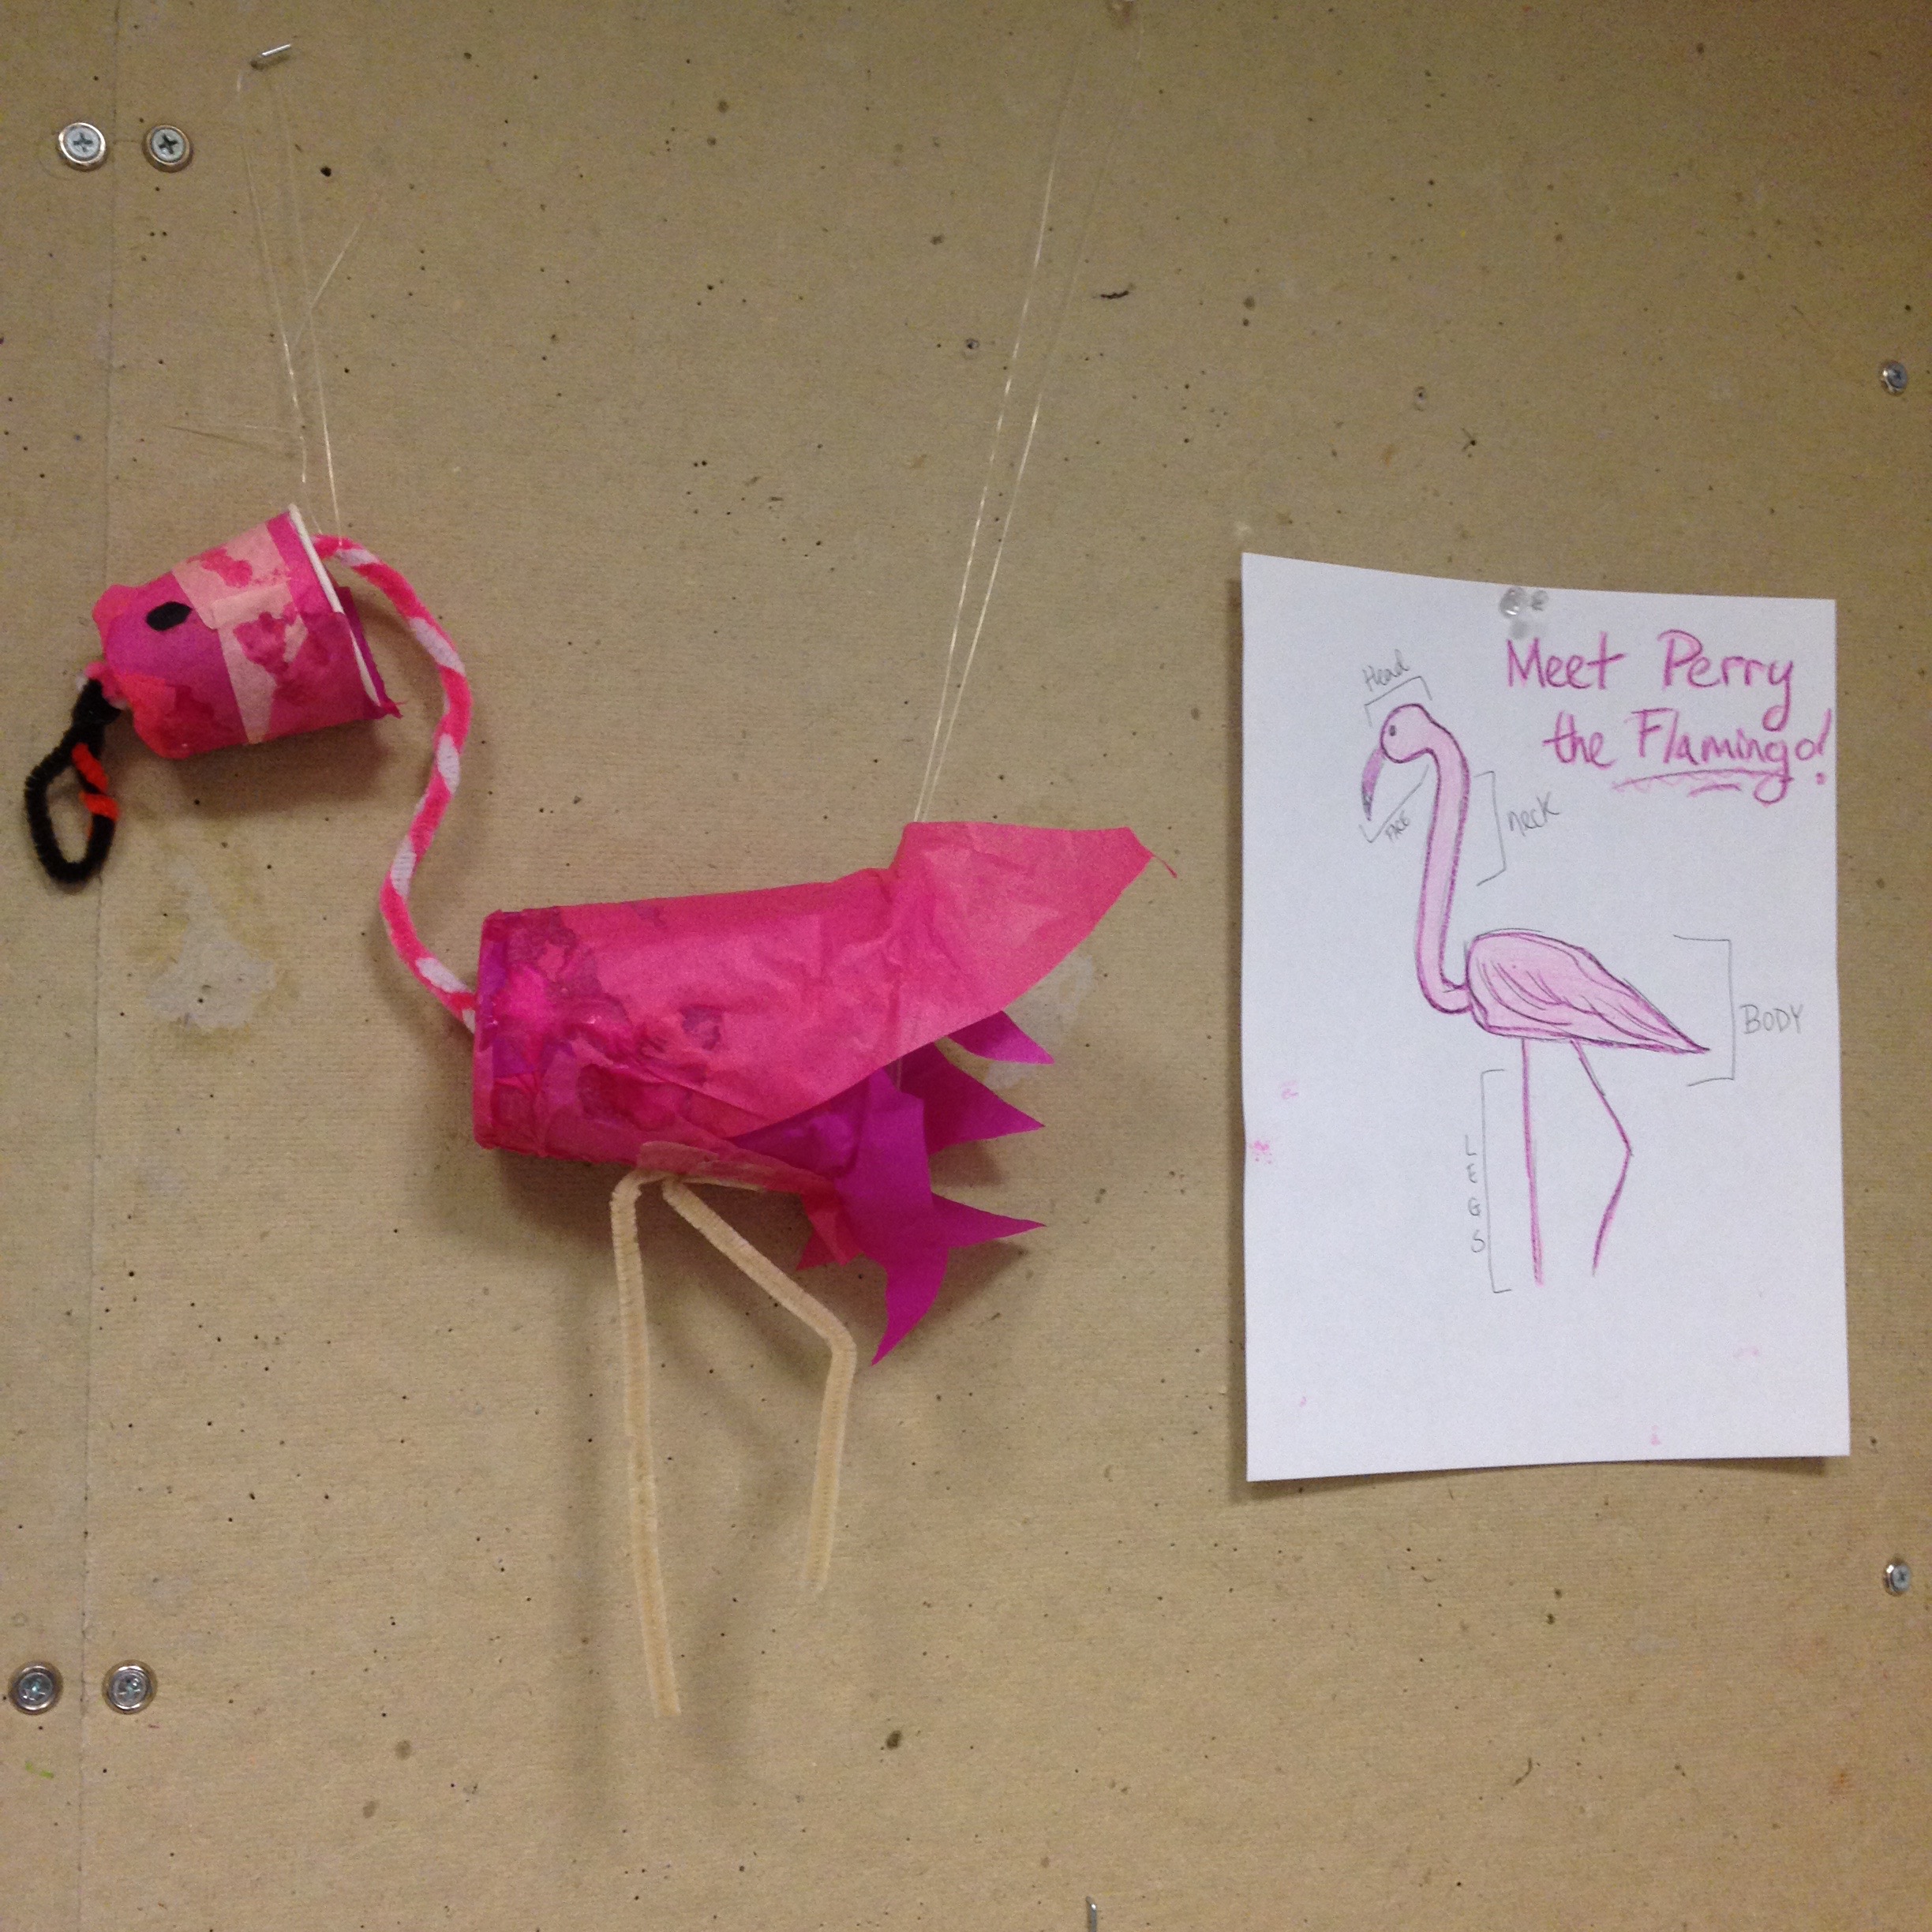
9. Attach the clear wire to the neck and body in order for it to suspend correctly. I created a loop around the neck and then taped a loop on the inside of the main cup body.
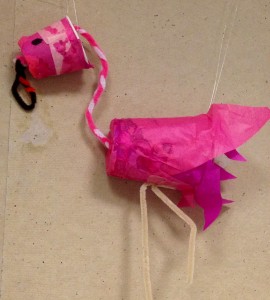
Step 9
10. Give your bird a name! Say Hello to Perry the Flamingo. Also, feel free to color in your original sketch with crayons if you would like to.

Perry, the Flamingo, Sculpture: Julia Kron
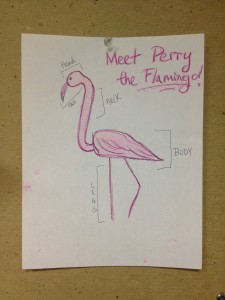
Step 10 – Color in your sketch
Tune in regularly for more art activities inspired by artwork in The Phillips Collection.
Julia Kron, K12 Education Intern