Museum Assistant Karlisima Rodas-Israel shares her experience at Joyce Wellman’s Workshop in April, and how you can make monoprint holiday prints, cards, and more.
I had a wonderful and fabulous experience at Joyce Wellman’s workshop in the spring. Joyce is an artist working in painting, printmaking, drawing, and mixed media, and one of her prints was featured in the exhibition Pour, Tear, Carve: Material Possibilities in the Collection. As part of the exhibition, she held a talk and monotype workshop. The process is called monotype because the design on the plate is unique and each print is one of a kind. The workshop was full, and we were all sitting together, sharing materials and ideas.
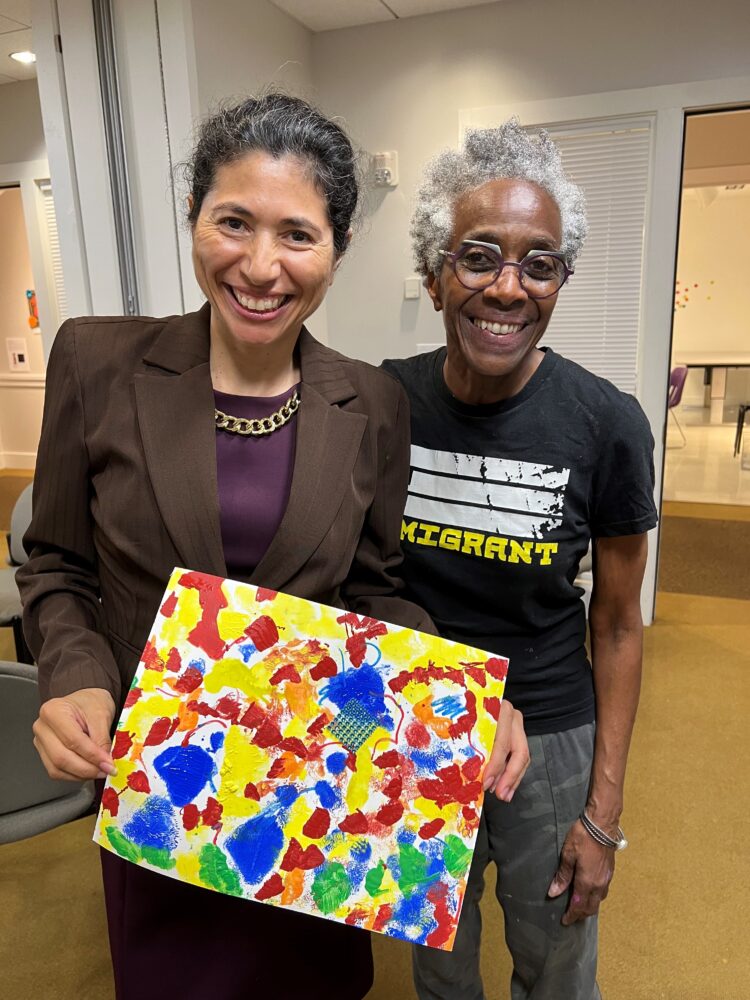
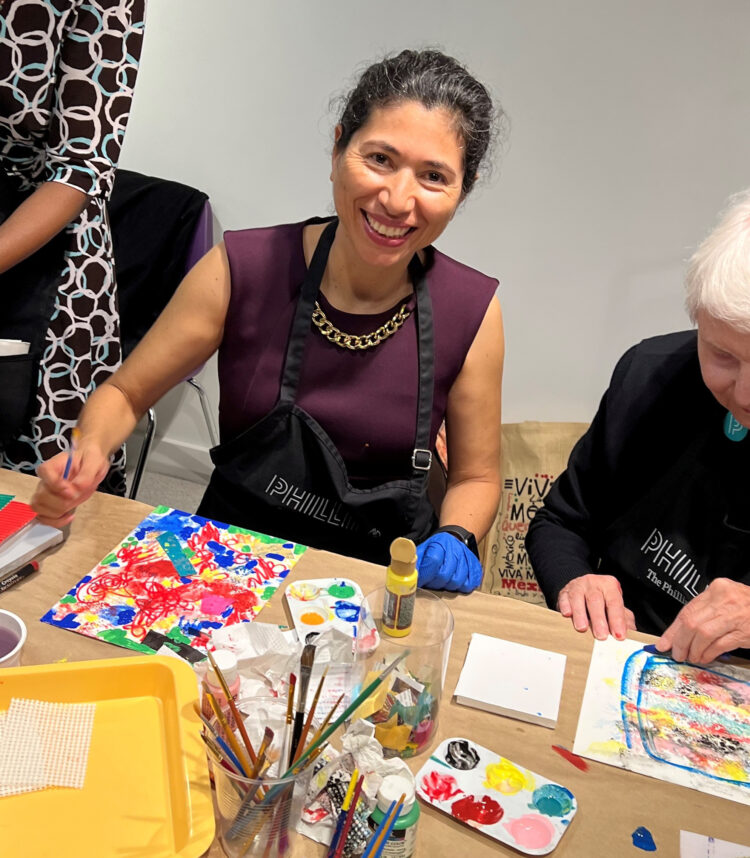
Karlisima Rodas-Israel with artist Joyce Wellman
I made four prints and I was very inspired because I really enjoyed the process of using different objects to make textures, such as corrugated cardboard or pieces of wood. The printing process was fun and easy. We pressed the paper onto the plate with a piece of foamboard so that the paint from the plate would adhere onto the wet paper. People enjoyed mixing the acrylic paints and experimenting with making textures. We came up with very interesting designs. Some of the participants were art teachers, and some had never done art before. It was a mixture of people from diverse backgrounds. As an artist, I enjoyed learning new printing techniques and was inspired to keep making my own art. Joyce was a very good teacher. She first gave us instructions and then she stopped by at each table to give us advice on how to make the prints and how to enhance our designs. She was very helpful, kind, and encouraging. She told me that this workshop had brought her a lot of joy. Everybody had a good time. I was so inspired and learned a lot! And for this, I am very thankful!
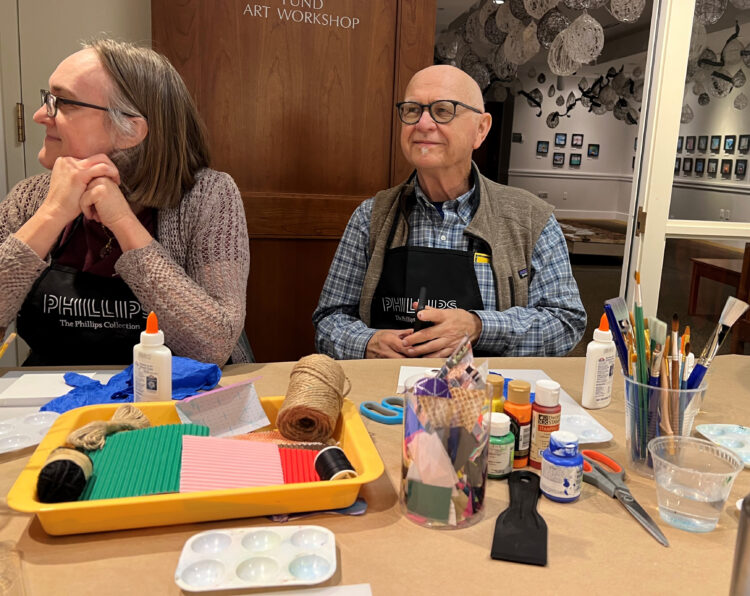
Workshop participants with all their materials ready to make prints
You can also make monoprints at home! You can make holiday cards or gift your unique prints. Or create monoprints together with your family and friends!
Here is what you will need:
- Acrylic paint and paint brushes
- Watercolor pencils (optional)
- A plastic tray or plate to use as a paint palette
- A cup of water to clean your brushes as you paint
- A metal spoon or a piece of foamboard to press the paper onto the plate
- Paper: cardstock or thick drawing paper or watercolor paper (5×7 in. to make cards)
- Scraps of corrugated cardboard, string, or other materials (to make textures)
- A plastic container of water to wet the paper
- A plastic sheet or plastic plate (5×7 in. for cards). Some suggestions:
- Pronto Plate from Dickblick.com
- Grafix Impress Monoprint Plate from Plaza Artist Materials.com
- Akua Printmaking Plate from Dickblick.com
- Or any plexiglass plate, piece of glass, or metal baking sheet
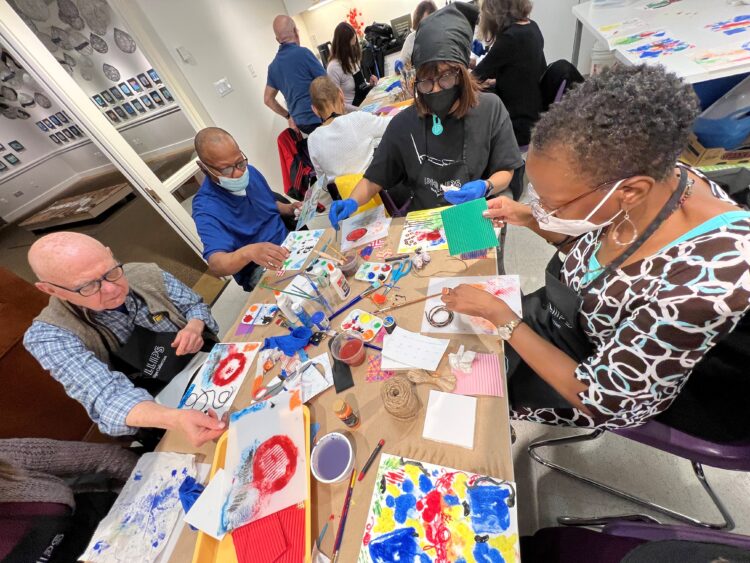
Workshop participants making prints
Let’s get started!
- First, get ready–Use an apron to avoid getting acrylic paint on your clothes as it does not come off. Protect your table with newsprint paper or a plastic table cover. Display your colors on a plastic palette in front of you.
- Submerge the paper in water in a plastic container full of water or in a sink.
- Then, create your design on the plastic plate (or glass, plexiglass, or baking sheet). Paint your design with acrylic paint. Make sure to keep the brushes wet, since acrylic paint dries very quickly. Keep your colors fresh and bright by cleaning your brushes with water when you are changing colors to avoid muddy colors. Make sure to rinse off the brushes and palette at the end of the session!
- You can make textures with cardboard by cutting triangles, squares, or any shape. Then apply the paint onto these shapes, and press the shapes onto the plate. You can also tear off the top layer of the cardboard and use the exposed corrugated side to make interesting textures.
- Use your imagination to make your design! You can make a tree, landscape, mountain, house, flower, star, heart, smiley face, stick figure, or anything you want. Your design can also be totally abstract. You can use a lot of colors or just a few. Most importantly, have fun!
- You can also write words on the plate, like Joy, Peace, or Love or any word you wish, but make sure to keep in mind, that, since this is a print, it will print in reverse, like a mirror image, so it must be drawn also in reverse. For this, I recommend that you use a mirror. First, write the word on a separate piece of paper, and then put it in front of a mirror, and then write the word on the plate exactly as you see it in the mirror. It will be the reverse image.
- Once your design is painted on the plate, then you will need the wet sheet of paper. Lift the wet paper from the container of water and remove the excess water, but keep the paper wet.
- The painted plate must be flat on the table. Make the print by pressing the wet paper onto the plate. Use a spoon or a piece of foamboard to press the paper firmly onto the plate and make sure to press the whole paper. Lift the paper carefully, and you have your print!
- You can draw on top of this print with watercolor pencils to add wiggly lines or additional marks. Finally, let the paper dry on a clean surface, face up.
You can only make one unique print each time and that is why it is called a monoprint, but you can use the same plate to make more prints. Just wipe off the paint from the plate with a wet paper towel or add more paint or more designs on top of it since the paint will likely be dry and will only print a “ghost image,” or a very faint image. This is fun because you have infinite possibilities!
As Joyce Wellman taught me, we are the boss of our artwork and we are the creators. So, have fun and enjoy the process!
Karlisima Rodas-Israel making monoprints